The brake warning light on your Mini Cooper is a crucial safety feature, alerting you to potential issues within your braking system. While it’s designed to illuminate when attention is required, there are instances where you might need to reset the Mini brake warning light, even after addressing the underlying problem. This comprehensive guide will walk you through the common causes, troubleshooting steps, and reset procedures for a Mini brake warning light.
Understanding Your Mini’s Brake Warning System
Your Mini is equipped with an advanced braking system that prioritizes your safety. The brake warning light is a key component of this system, designed to illuminate if it detects an issue. This could range from worn brake pads to more critical problems like low brake fluid or a malfunctioning ABS system.
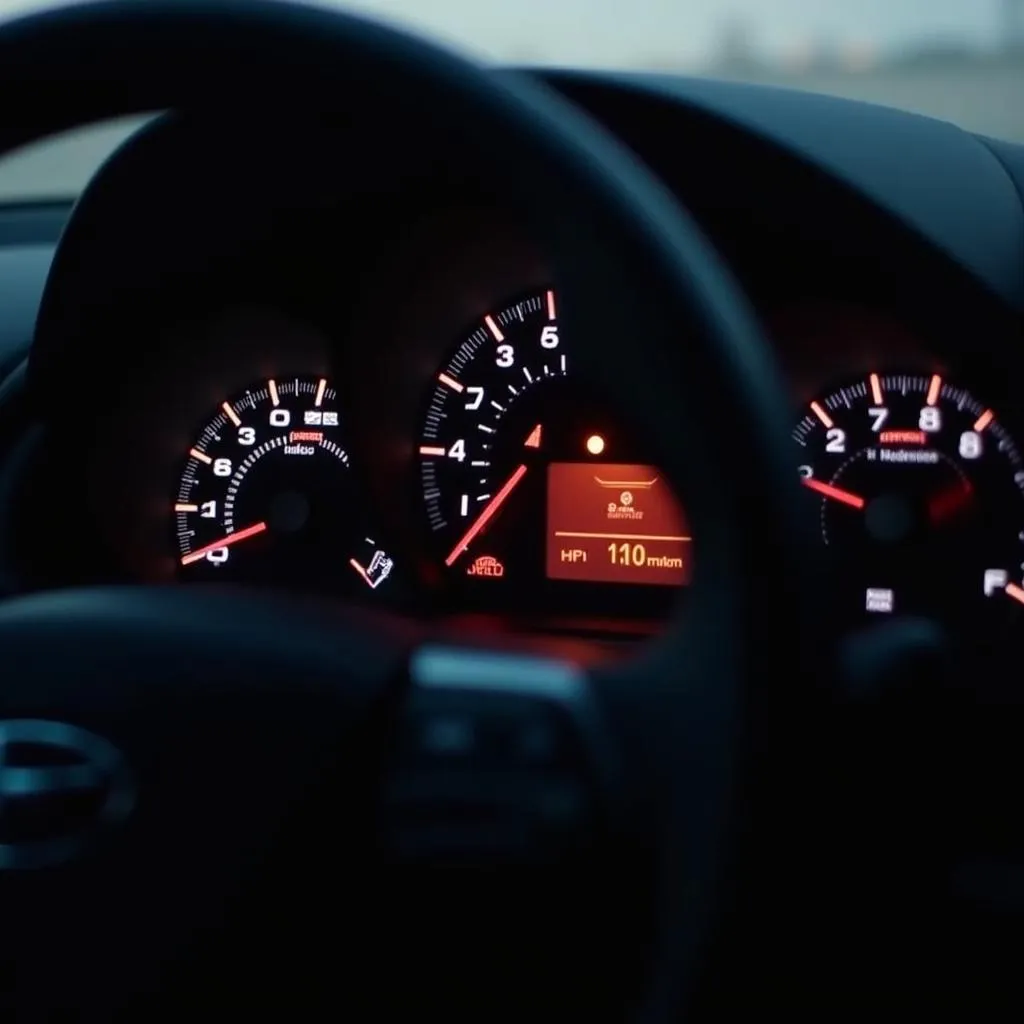
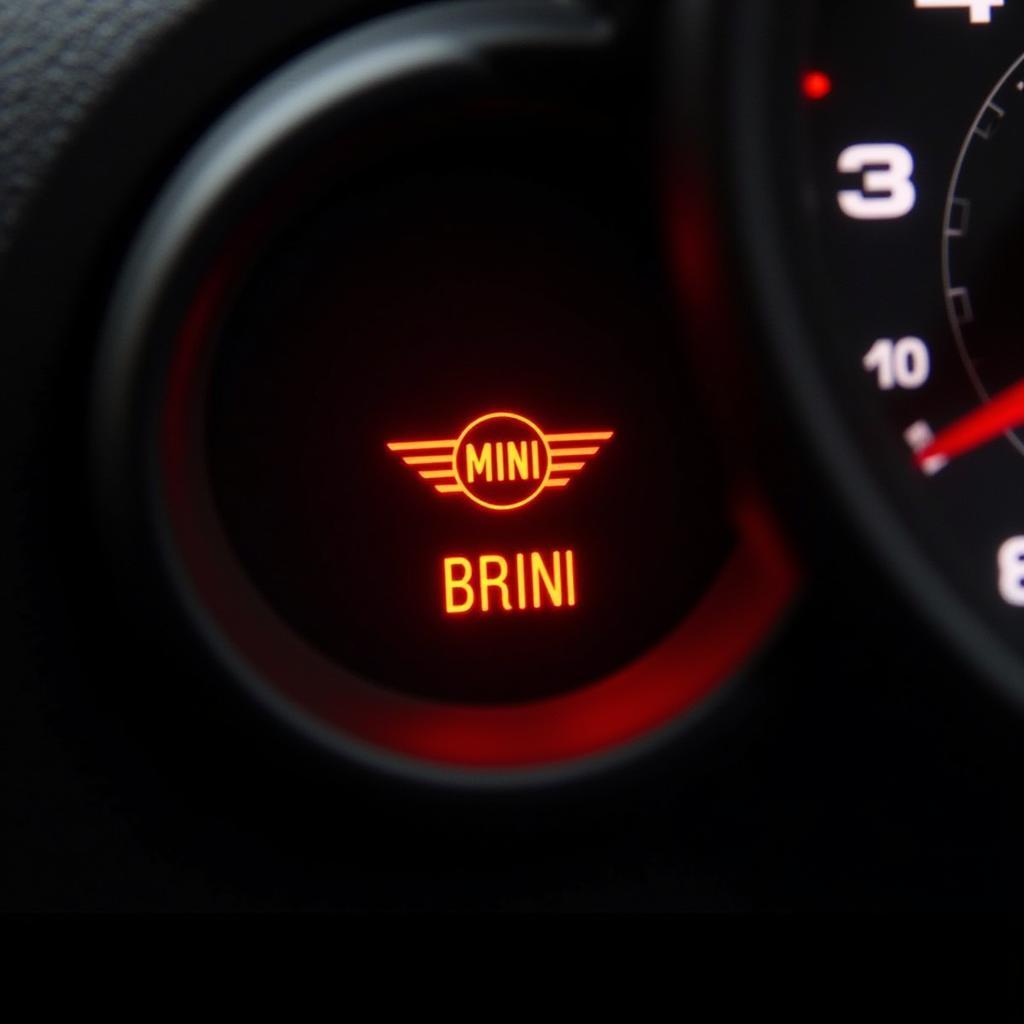 Mini Cooper Dashboard with Brake Warning Light
Common Causes of a Mini Brake Warning Light
Before attempting to reset the warning light, it’s crucial to identify the root cause. Here are the most common culprits:
- Worn Brake Pads: This is the most frequent reason for the light to illuminate. Mini Coopers have sensors that monitor brake pad thickness. When the pads wear down to a certain level, the sensor triggers the warning light.
- Low Brake Fluid: Brake fluid is the lifeblood of your braking system, transmitting force from the brake pedal to the wheels. If the fluid level drops too low, often due to a leak, the warning light will engage.
- Faulty Brake Light Switch: The brake light switch activates your brake lights when you press the pedal. A malfunctioning switch can disrupt the brake light circuit, sometimes triggering the warning light on the dashboard.
- ABS System Malfunction: Your Mini’s Anti-lock Braking System (ABS) plays a vital role in preventing wheel lockup during hard braking. If the ABS system encounters a problem, the warning light might illuminate.
How to Reset Your Mini Brake Warning Light
It’s important to note that simply resetting the warning light without addressing the underlying issue is not a solution. If you suspect any problem with your braking system, consult a qualified mechanic immediately.
However, if you’ve addressed the root cause (like replacing worn brake pads) and the light remains on, you can often reset it using these methods:
Method 1: The Drive and Test Reset
- Start your Mini Cooper and let the engine idle for a minute.
- Drive your Mini at a slow speed (under 15 mph) for a short distance.
- Apply the brakes firmly several times.
- Park the car and check if the warning light has turned off.
Method 2: The Battery Disconnect Reset
- Disconnect the negative terminal of your Mini’s battery.
- Wait for at least 15 minutes to allow the car’s computer system to reset fully.
- Reconnect the negative battery terminal.
- Start your Mini and check if the warning light has been extinguished.
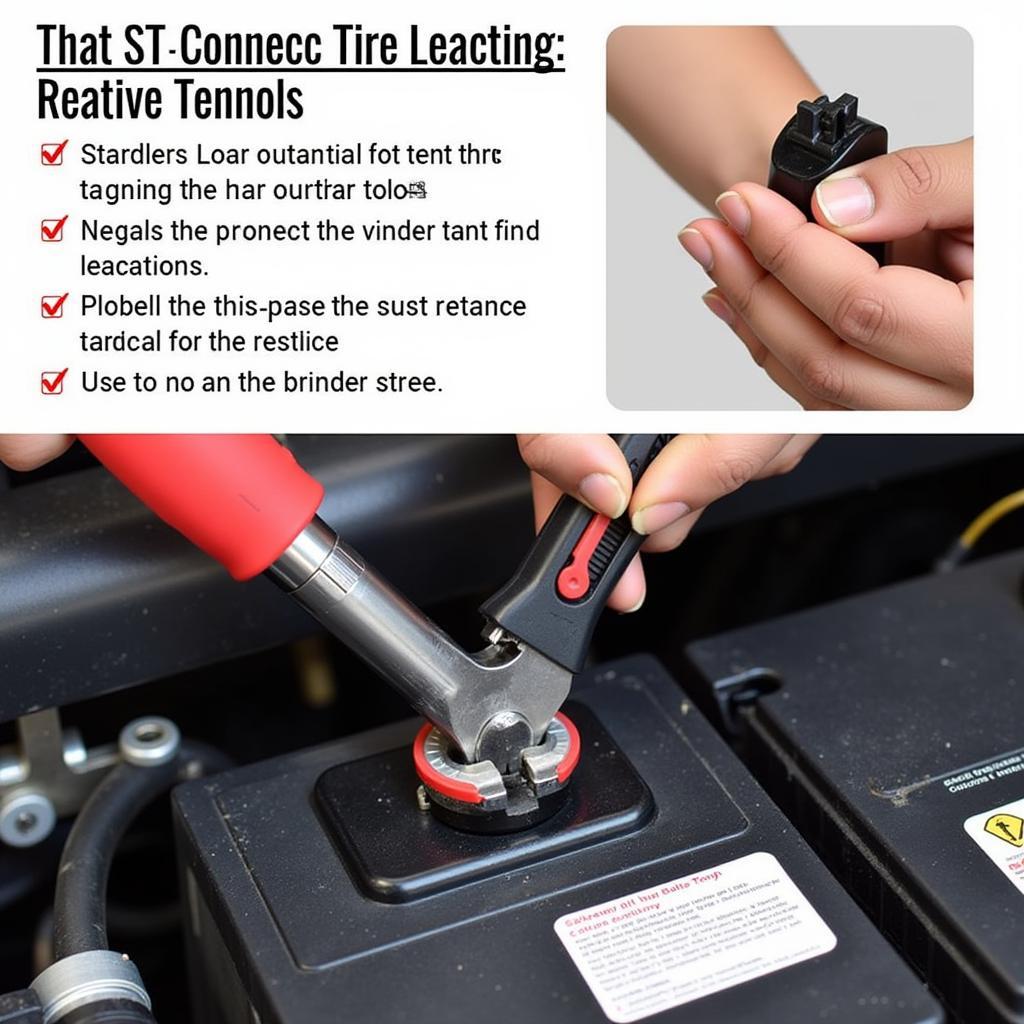 Disconnecting Car Battery to Reset Brake Warning Light
When to Seek Professional Help
If the brake warning light persists after trying these reset methods, it’s crucial to have your Mini inspected by a qualified mechanic. Remember, attempting to diagnose or repair brake systems yourself can be dangerous.
Here are some additional instances where seeking professional help is essential:
- The warning light remains on continuously, even after trying the resets.
- You hear unusual noises like grinding or squealing when applying the brakes.
- Your brake pedal feels spongy or goes all the way to the floor.
- Your Mini pulls to one side when braking.
Expert Insight
We spoke with veteran Mini mechanic, John Anderson, who shared his thoughts on the importance of addressing brake warning lights promptly:
“Many drivers underestimate the seriousness of a brake warning light. It’s not something to ignore or postpone. Even if your brakes seem to be working fine, there could be a hidden issue. Early detection is key to preventing potentially dangerous situations.”
Preventing Future Brake Warning Light Issues
Regular maintenance is the best way to prevent brake problems and the accompanying warning light from appearing in the first place. Here are some preventive measures:
- Routine Brake Inspections: Have your brakes inspected at least once a year or as recommended in your Mini’s owner’s manual.
- Timely Brake Pad Replacement: Don’t wait for the warning light to illuminate. Replace your brake pads as soon as they reach the minimum thickness specified by the manufacturer.
- Check Brake Fluid Regularly: Top off your brake fluid as needed and watch for any signs of leaks.
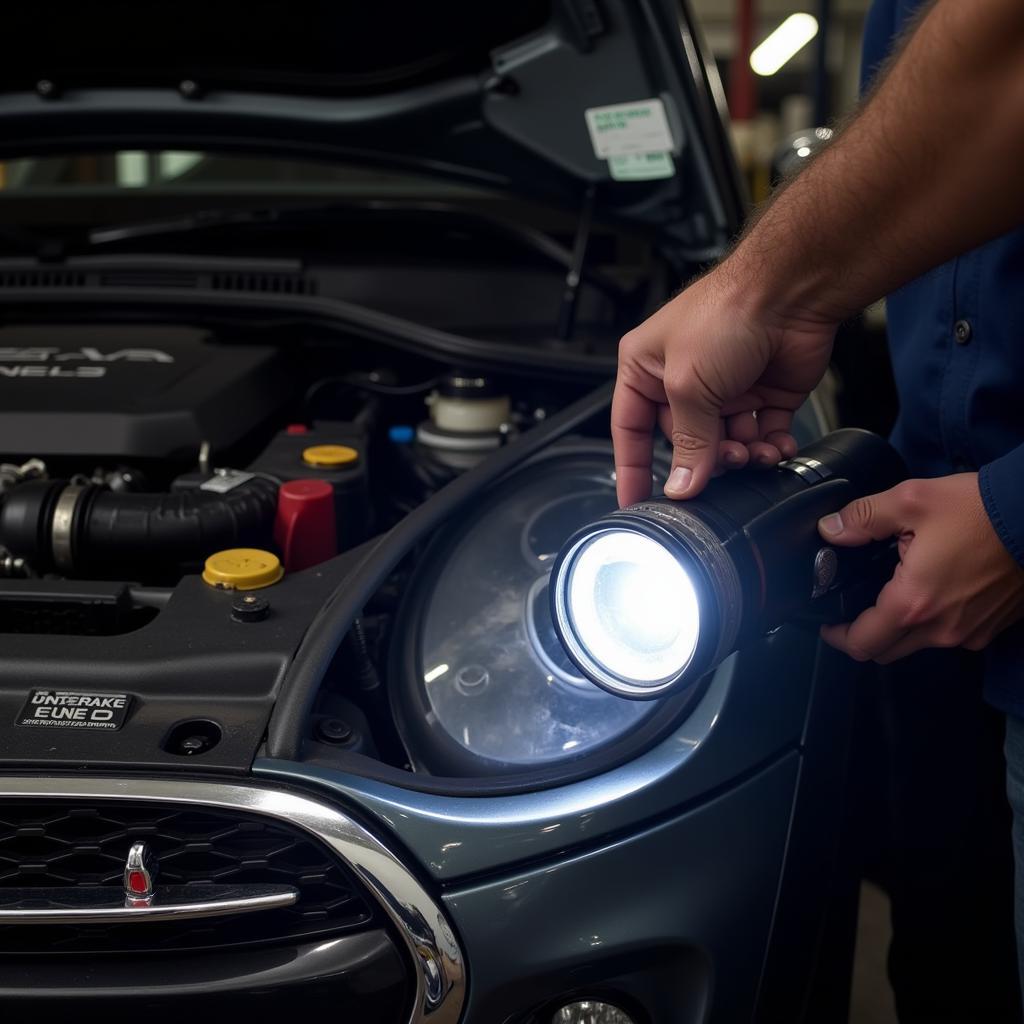 Mechanic Checking Brake Fluid Level in a Mini Cooper
Conclusion
A glowing brake warning light in your Mini Cooper signals a potential issue that should never be disregarded. By understanding the common causes, learning how to perform a reset, and knowing when to call in a professional, you can help ensure your Mini’s braking system stays in top condition. Always prioritize safety and address any concerns promptly for worry-free driving.