Understanding your Sony Xplod car radio wiring diagram is crucial for a successful installation or troubleshooting process. Whether you’re upgrading your car’s audio system or dealing with a malfunctioning radio, a clear understanding of the wiring is essential. This guide provides a detailed overview of Sony Xplod car radio wiring diagrams, helping you navigate the complexities and achieve optimal audio performance.
Decoding the Sony Xplod Wiring Diagram
Sony Xplod car radios are known for their powerful sound and features. However, the wiring can seem daunting at first glance. Don’t worry, we’ll break it down step by step. The wiring diagram is essentially a roadmap, showing you which wire from the radio connects to which function in your car. This includes power, ground, speakers, antenna, and other accessories.
Key Components of a Sony Xplod Wiring Diagram
- Power: Usually a yellow wire, this connects to the constant 12V power source in your car’s electrical system. This ensures the radio retains its settings even when the car is off.
- Ground: Typically a black wire, the ground wire provides a return path for the electrical current and is essential for proper operation. Connect this to a metal part of the car’s chassis.
- Accessory/Ignition: Often a red wire, this connects to the switched 12V power source, meaning the radio only turns on when the car’s ignition is on.
- Speakers: These wires are typically color-coded in pairs (e.g., white/white-black for front left, gray/gray-black for front right). They connect to the corresponding speakers in your car.
- Antenna: This wire connects to your car’s antenna, allowing you to receive radio broadcasts.
- Illumination: Usually an orange/white wire, this dims the radio display when the car’s headlights are on.
Understanding Wire Colors and Functions
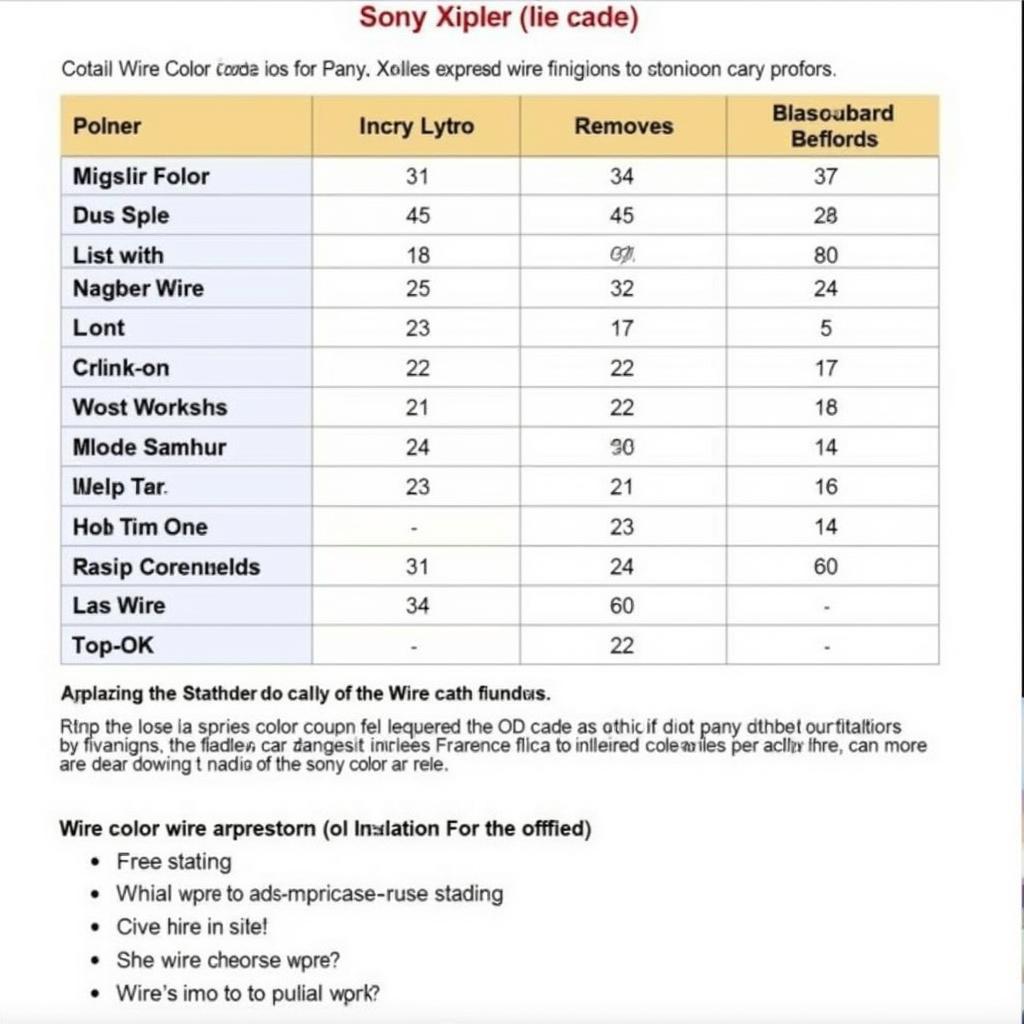
Each wire in the Sony Xplod wiring harness has a specific color and function. Consulting the wiring diagram specific to your model is paramount, as color codes can vary slightly. However, some common color codes are relatively standard.
- Yellow: Constant 12V Power
- Red: Accessory/Switched 12V Power
- Black: Ground
- Blue: Power Antenna or Amplifier Remote Turn-on
- Orange/White: Illumination
 Sony Xplod Wire Color Codes
Troubleshooting Common Wiring Issues
Sometimes, even with a wiring diagram, issues can arise. Here are some common problems and solutions:
- Radio Won’t Turn On: Check the power and ground connections. Use a multimeter to verify voltage.
- No Sound: Verify speaker connections and ensure the correct polarity. A reversed speaker connection can result in no sound or poor audio quality.
- Poor Reception: Check the antenna connection and ensure the antenna is properly grounded.
“Always double-check your connections and consult the wiring diagram specific to your Sony Xplod model,” advises Michael Johnson, a veteran car audio technician with over 20 years of experience. “A little patience and attention to detail can save you a lot of headaches down the road.”
Installing Your Sony Xplod Car Radio
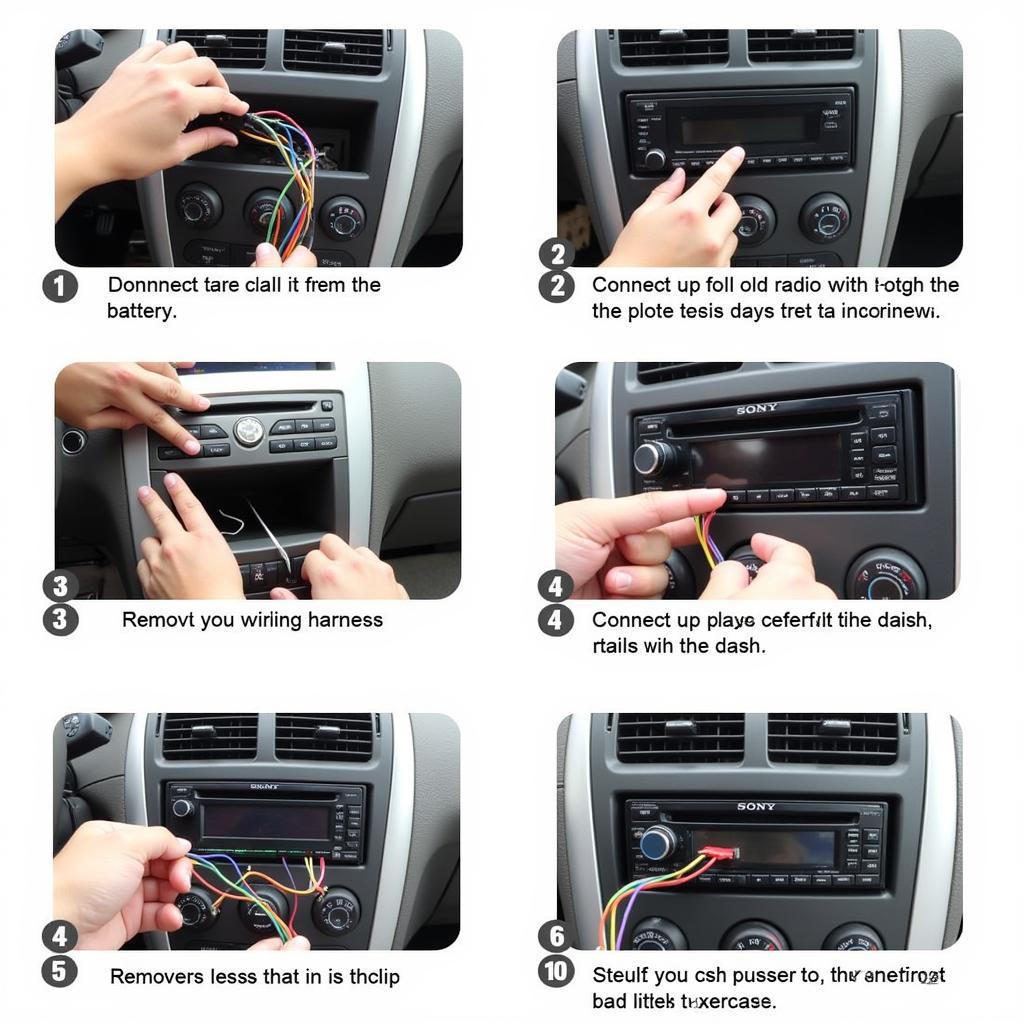
Follow these steps for a successful installation:
- Disconnect the negative battery terminal.
- Remove the old car radio.
- Connect the wiring harness to the Sony Xplod radio, matching the colors and functions.
- Test the radio before securing it in the dash.
- Install the radio and reconnect the negative battery terminal.
 Sony Xplod Installation Steps
“Remember to use proper crimp connectors and electrical tape to ensure secure and reliable connections,” adds Johnson. “This will help prevent future problems and ensure optimal audio performance.”
Conclusion
A Sony Xplod car radio wiring diagram is your indispensable guide for a smooth installation or troubleshooting experience. By understanding the key components, wire colors, and common issues, you can confidently navigate the process and enjoy the powerful sound of your Sony Xplod car radio. Remember to always consult the specific wiring diagram for your model and take your time to ensure accurate connections.

