Testing your car radio before installation is crucial to ensure it functions correctly and avoids potential headaches down the road. This guide provides a step-by-step approach to thoroughly test your new car radio before you install it in your vehicle, saving you time and frustration. Read on to learn how to avoid common pitfalls and ensure your new car radio works perfectly from the get-go.
Why You Should Test Your Car Radio Before Installation
Testing your car radio before installation allows you to identify any potential issues early on, such as faulty wiring, incorrect settings, or even a defective unit. Catching these problems before the radio is fully installed saves you valuable time and effort. Imagine completing a complex installation only to discover a malfunctioning radio – a simple pre-installation test can prevent this scenario. If you’re upgrading to a bluetooth internet radio car kit for android, testing beforehand is especially important due to the added complexity of Bluetooth connectivity.
How to Power Up Your Car Radio for Testing
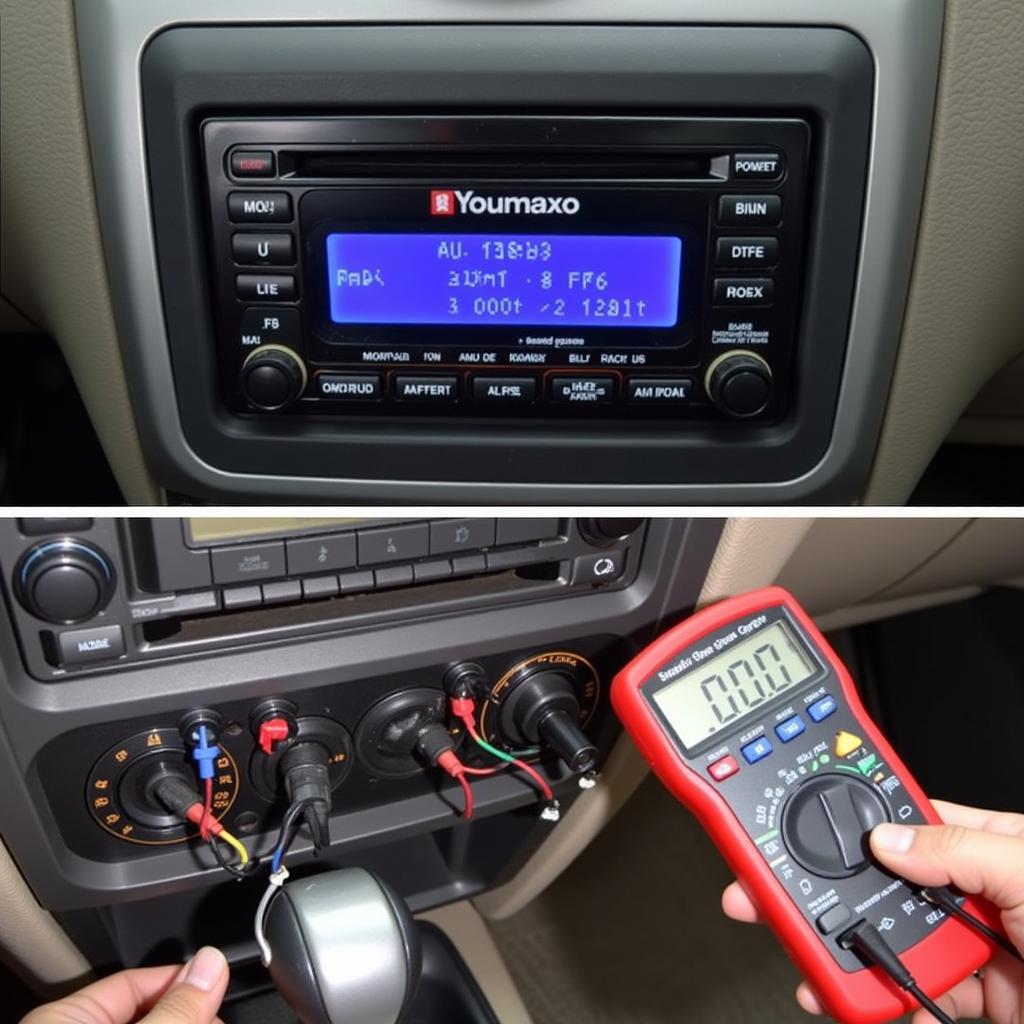
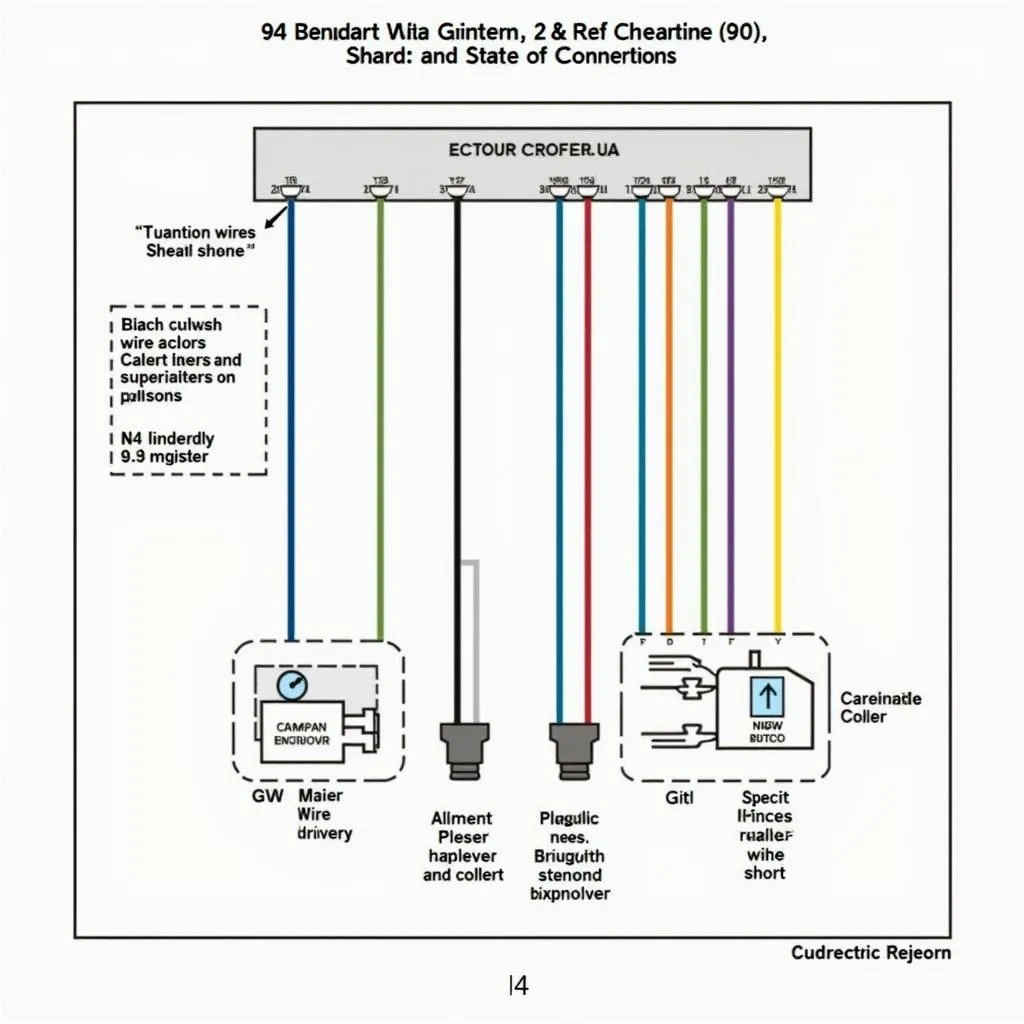
There are several ways to power up your car radio for testing without fully installing it in your dashboard. One common method is to use a 12V DC power supply. Make sure the power supply has sufficient amperage to power the radio. Another option is to use a car battery, ensuring proper connection to the positive and negative terminals. Pay close attention to the wiring diagram provided with your car radio to avoid any damage.
Checking Basic Functions
Once powered, test the basic functions of your car radio. This includes turning the unit on and off, adjusting the volume, and switching between different sources like radio, CD (if applicable), and auxiliary inputs. This initial check can reveal any fundamental issues with the unit’s operation. If you are installing an old fashioned bluetooth car radio, ensure the Bluetooth functionality is working correctly.
Testing Speaker Outputs
A crucial step is testing the speaker outputs. Connect speakers to the appropriate terminals on the back of the car radio, ensuring correct polarity. Play some audio and check that sound is coming from each speaker clearly and without distortion. This test will reveal any problems with the amplifier or speaker connections.
 Testing car radio speakers
Verifying Specific Features
Depending on your car radio’s features, test other functionalities. This might include Bluetooth pairing, GPS navigation, steering wheel controls, and USB connectivity. Thorough testing ensures all features operate as expected before installation. Are you considering a bluetooth car radio adapter best buy? Testing its compatibility with your phone is essential.
Troubleshooting Common Issues
If you encounter problems during testing, don’t panic! Common issues include no power, no sound, distorted sound, or malfunctioning features. Double-check all connections and consult the user manual for troubleshooting tips. Knowing how to install a new radio in your car involves understanding potential issues and how to resolve them.
Seeking Professional Help
If troubleshooting doesn’t resolve the issue, consult a qualified car audio professional. They possess the expertise to diagnose and fix complex problems. Don’t hesitate to seek professional assistance to avoid further complications.
“Testing before installation is like checking the recipe before baking the cake. It ensures a smooth and successful outcome.” – John Smith, Certified Automotive Electronics Technician.
Conclusion
Testing your car radio before installation, whether a simple unit or a complex how to connect wiring harness car radio, is a proactive step that saves time and frustration. By following this guide, you can ensure your new car radio performs flawlessly, providing you with an enjoyable listening experience. Remember, a little testing goes a long way in achieving a successful car audio upgrade.
“A few minutes of testing can prevent hours of troubleshooting later.” – Maria Garcia, Senior Automotive Electronics Engineer.


