A parasitic draw test is crucial for diagnosing a car battery drain. This guide provides a step-by-step approach to performing a parasitic draw battery test, helping you pinpoint the culprit draining your car’s battery. Learn the tools, techniques, and troubleshooting steps needed for accurate diagnosis. battery drain parasitic draw testing
Understanding the Parasitic Draw
A parasitic draw, also known as a key-off drain, occurs when electrical components continue to consume power even after the vehicle is turned off. This can lead to a dead battery, leaving you stranded. Identifying and fixing these phantom drains is essential for maintaining a healthy battery and a reliable vehicle.
What Causes a Parasitic Draw?
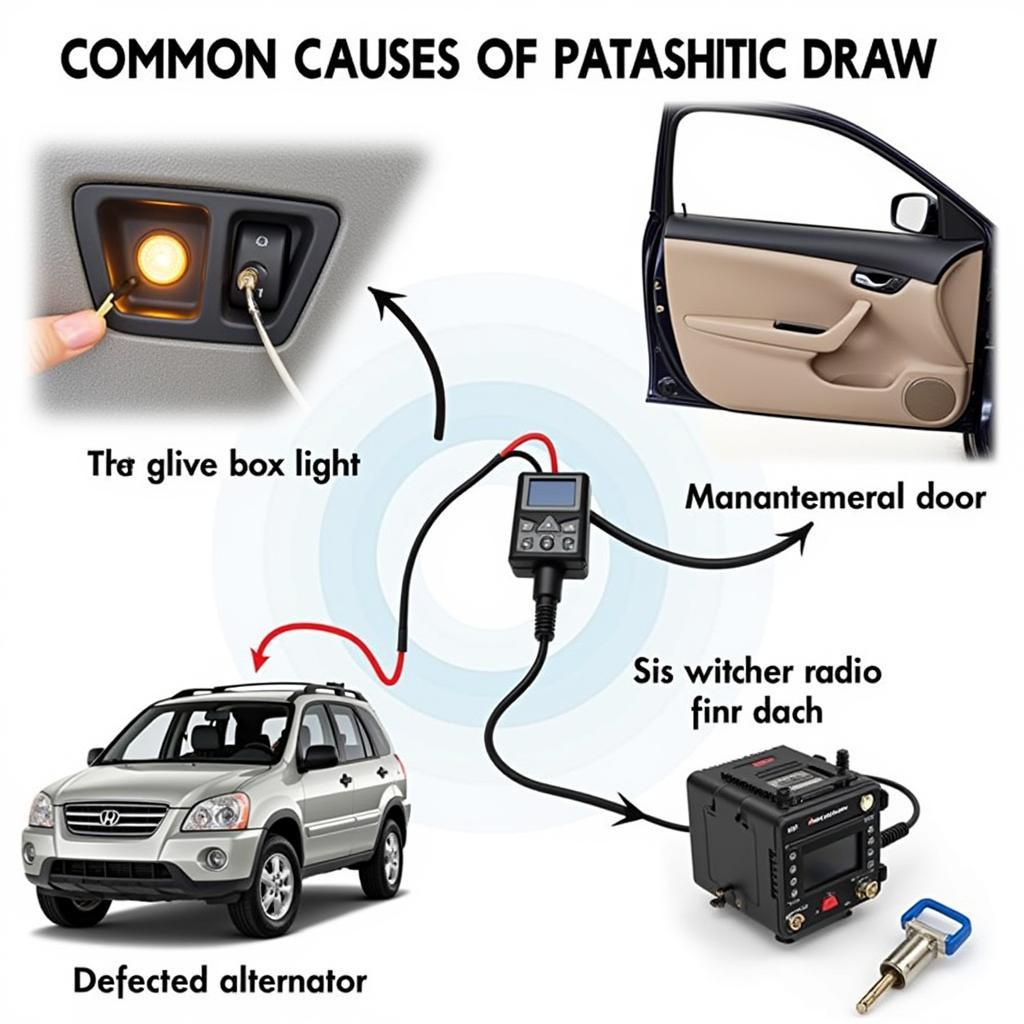
Several factors can contribute to a parasitic draw. Faulty relays, sticking switches, malfunctioning modules, and even aftermarket accessories can draw power continuously. Sometimes, a simple glove box light left on can be the culprit. Other times, the issue might be more complex, involving a faulty ECU or a short circuit.
 Common Causes of Parasitic Draw
How to Test for Parasitic Draw Battery
Performing a parasitic draw test requires a few essential tools: a digital multimeter, a test light, and some patience. Here’s a step-by-step guide:
- Prepare the Vehicle: Park the car, turn off all lights and accessories, and ensure the doors are closed and locked. Let the vehicle sit undisturbed for at least 30 minutes to allow modules to go to sleep.
- Disconnect the Negative Battery Cable: Using a wrench, carefully loosen and disconnect the negative battery cable.
- Connect the Multimeter: Set your multimeter to measure DC amps. Connect the red lead of the multimeter to the negative battery terminal and the black lead to the negative battery cable.
- Observe the Reading: A healthy parasitic draw should be around 50 milliamps (0.05 amps) or less. A higher reading indicates a significant drain.
- Locate the Culprit: Begin systematically removing fuses, one at a time, while observing the multimeter reading. A significant drop in the reading after removing a specific fuse indicates the circuit where the parasitic draw lies.
Interpreting the Results
If you find a high parasitic draw, further investigation is needed within the circuit associated with the identified fuse. Inspect the wiring, components, and modules connected to that circuit for any signs of damage or malfunction.
“A common mistake is not waiting for the vehicle’s modules to go to sleep before starting the test,” says automotive electrical expert, John Smith, ASE Certified Master Technician. “This can lead to inaccurate readings and misdiagnosis.”
Advanced Parasitic Draw Testing Techniques
For more complex scenarios, parasitic draw test dual battery techniques can be employed. These techniques involve using a secondary battery to power the vehicle while isolating the main battery for testing. This helps prevent triggering any sensitive electronics during the test.
Conclusion
Testing for a parasitic draw is essential for maintaining a healthy car battery. By following this comprehensive guide and using the right tools, you can effectively car battery parasitic draw test and prevent those frustrating “battery drained car won’t start” situations. Understanding the process and interpreting the results correctly can save you time and money in the long run. If your car is a Corvette, you might be interested in learning more about the corvette battery drain problem. Don’t let a parasitic draw leave you stranded—take control of your car’s electrical system today!
“Remember, safety is paramount when working with a car’s electrical system. Always disconnect the negative battery cable before starting any electrical testing,” adds Smith.
