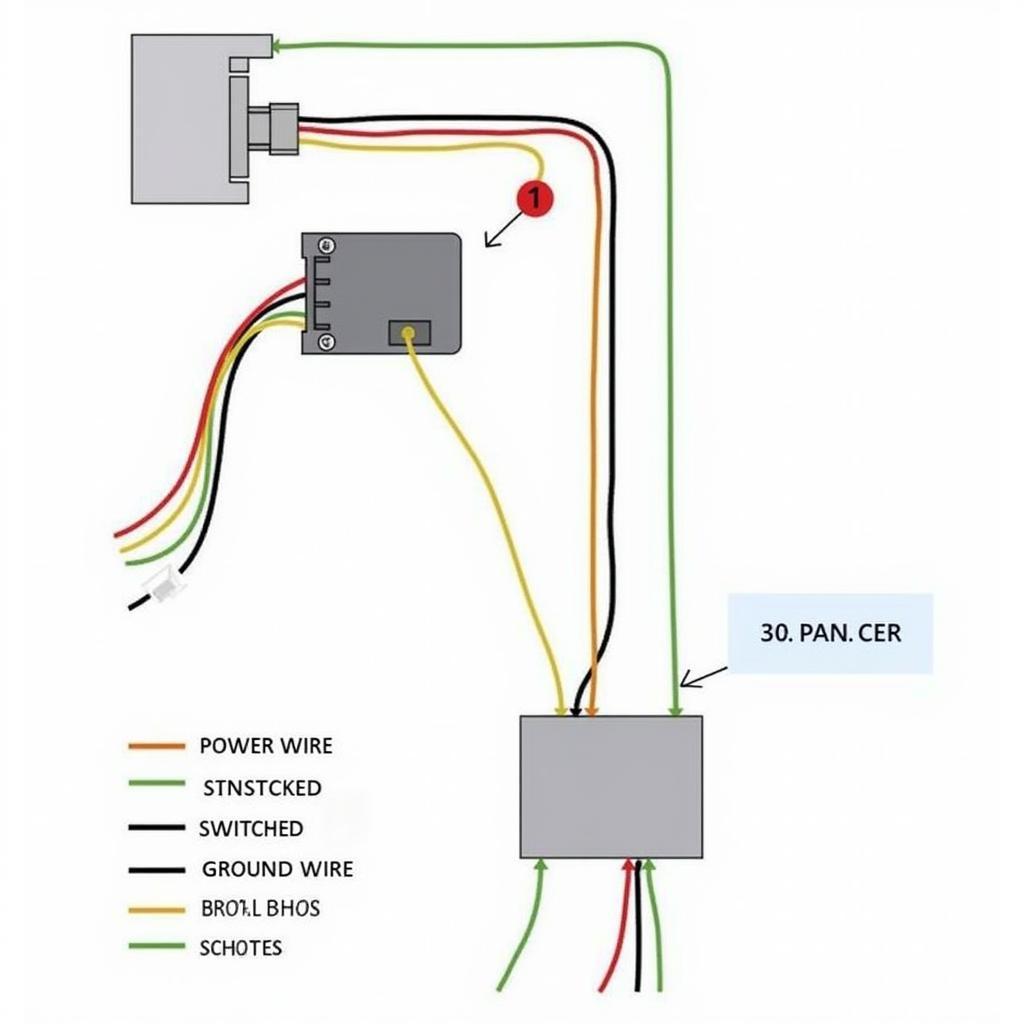
Toyota car radio wiring can seem daunting at first, but with a little knowledge and the right tools, it can be a manageable task. This guide will equip you with the necessary information to understand your Toyota’s car radio wiring, whether you’re troubleshooting, upgrading, or simply curious. Let’s dive in and unravel the mysteries behind those colorful wires! toyota car radio wiring diagram
Understanding the basics of car audio wiring is crucial before working on your Toyota. Each wire serves a specific purpose, and connecting them incorrectly can cause damage to your car’s electrical system or the radio itself.
Decoding the Toyota Car Radio Wiring Diagram
A wiring diagram is your roadmap to successfully navigating the complex web of wires behind your car radio. Knowing how to read and interpret a toyota car radio wiring di is essential for any car audio project.
Power, Ground, and Speakers: The Core Components
The most important wires are the power, ground, and speaker wires. The power wire supplies the radio with electricity, while the ground wire completes the circuit. Speaker wires transmit the audio signals to your car’s speakers. These wires are typically color-coded, and understanding their designated colors is key.
- Power (Constant 12V): Usually yellow or red, this wire provides continuous power to the radio’s memory, preserving presets and clock settings.
- Power (Switched 12V): Typically red, this wire only receives power when the ignition is turned on, powering the radio’s main functions.
- Ground: Usually black or brown, this wire connects to the car’s chassis, providing a return path for the electrical current.
- Speaker Wires: These wires come in pairs, typically with a solid color and a striped counterpart, representing positive and negative connections for each speaker.
 Toyota Car Radio Wiring Diagram Basics
Illumination and Antenna: Enhancing the Experience
Beyond the core components, there are other wires that contribute to the functionality of your Toyota’s car radio. These include the illumination wire and the antenna wire.
- Illumination: This wire dims the radio’s display when the headlights are turned on, reducing glare and improving visibility at night.
- Antenna: This wire connects to the car’s antenna, allowing the radio to receive radio signals.
Troubleshooting Common Wiring Issues
Identifying and resolving wiring issues is a crucial aspect of car audio maintenance. Knowing what to look for can save you time and prevent further complications.
No Power? Check the Fuses
If your radio isn’t receiving power, the first thing to check is the fuse box. A blown fuse can easily interrupt the power supply to your car radio.
Static or No Sound? Inspect the Speaker Wiring
If you’re experiencing static or no sound from your speakers, the problem might lie with the speaker wiring. Loose connections or damaged wires can disrupt the audio signal.
“A common mistake is accidentally reversing the polarity of the speaker wires,” says John Miller, a certified automotive electrician with over 20 years of experience. “This can not only result in poor sound quality, but it can also damage your speakers.”
2000 toyota sienna car radio wiring diagram
Upgrading Your Toyota Car Stereo: Wiring Considerations
Upgrading your car stereo can significantly improve your driving experience. However, understanding the wiring is essential for a successful installation.
Adapting to Aftermarket Radios
Aftermarket radios often require an adapter harness to connect to your Toyota’s wiring. These harnesses simplify the installation process by matching the aftermarket radio’s wiring to your Toyota’s specific configuration.
“Using a wiring harness adapter is a lifesaver,” advises Sarah Lee, an automotive audio specialist. “It eliminates the need to cut and splice wires, making the installation cleaner and easier to reverse if needed.”
car stereo radio wiring harmless color diagram 1998 toyota camry
2007 toyota yaris car stereo radio wiring diagram
Conclusion
Understanding toyota car radio wiring is fundamental for any car owner looking to troubleshoot, upgrade, or simply maintain their car audio system. By utilizing the resources available, such as wiring diagrams and expert advice, you can confidently tackle any car audio project. Remember to always double-check your connections and consult a professional if you encounter any difficulties.

