A “VCDS K1 short to ground” fault can be a frustrating experience. This article will guide you through understanding, diagnosing, and fixing this common issue, whether you’re a car owner, a mechanic, or an automotive technician.
Understanding the VCDS K1 Short to Ground Fault
The K1 relay in your vehicle controls various systems, including the fuel pump, ignition coils, and various engine components. A “short to ground” fault means the relay’s output circuit is unintentionally connected to the vehicle’s chassis ground. This can lead to several problems, from no-start conditions to complete system failures. Understanding the underlying causes is crucial for effective troubleshooting. These causes can range from damaged wiring to faulty relay components.
Diagnosing the Issue with VCDS
The Vag-Com Diagnostic System (VCDS) is a powerful tool for diagnosing Volkswagen, Audi, Seat, and Skoda vehicles. When VCDS reports a “K1 short to ground” fault, it pinpoints the problem area. The next step is to systematically investigate the wiring harness, relay socket, and related components. A visual inspection is the first step, checking for frayed wires, corrosion, or loose connections.
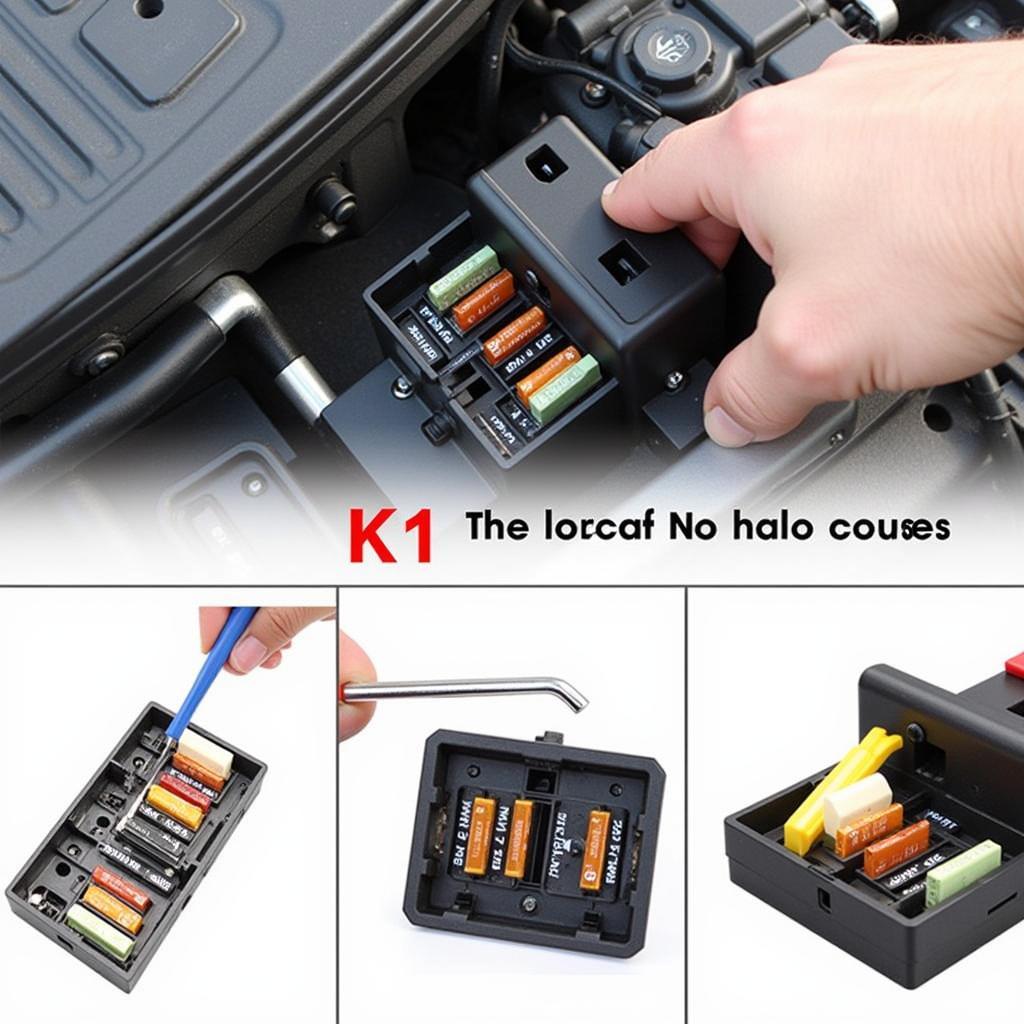
 VCDS K1 Relay Location in Vehicle
Common Causes and Solutions for K1 Short to Ground
Several common issues can cause a K1 short to ground fault. A damaged wire in the harness leading to the K1 relay is a frequent culprit. Rodents chewing through wires or abrasion against sharp metal edges can create a short. Replacing the damaged section of the wiring harness is the solution.
Another possibility is a faulty relay itself. Internal short circuits within the relay can trigger the fault. Simply replacing the K1 relay with a new one can often resolve this.
Corrosion in the relay socket can also lead to a short to ground. Cleaning the socket with electrical contact cleaner and ensuring a tight connection can fix this.
Testing the K1 Relay and Circuit
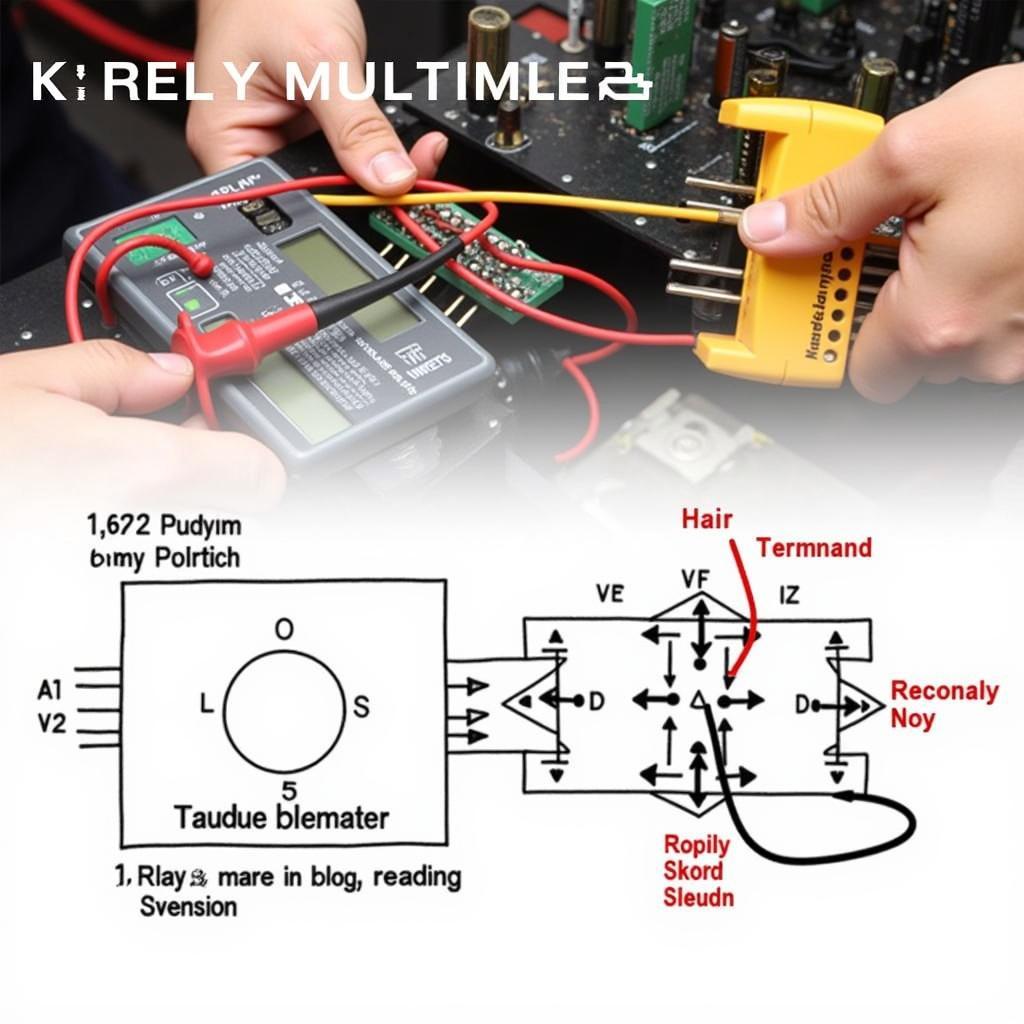
Using a multimeter, you can test the K1 relay for continuity and resistance. This will help you determine if the relay is functioning correctly. Additionally, checking the wiring for continuity between the relay and the components it controls can help isolate the short.
How to test the K1 relay with a multimeter?
- Disconnect the K1 relay.
- Set the multimeter to the continuity test setting.
- Probe the relay terminals according to the wiring diagram to check for proper operation.
 Testing the K1 Relay with a Multimeter
Preventing Future K1 Short to Ground Issues
Regularly inspecting the wiring harness and relay socket for damage and corrosion can prevent future issues. Securing the wiring harness properly can minimize the risk of abrasion and damage. Applying dielectric grease to the relay socket can help prevent corrosion.
“Regular preventative maintenance can significantly reduce the likelihood of encountering a K1 short to ground fault,” says John Smith, Senior Automotive Electrical Engineer at AutoTech Solutions. “This includes visual inspections and cleaning the relay sockets.”
Conclusion: Resolving Your VCDS K1 Short to Ground Fault
A “VCDS K1 short to ground” fault can be effectively diagnosed and repaired with the right tools and knowledge. By systematically checking the wiring, relay, and socket, you can pinpoint the problem and implement the correct solution. Don’t let this fault keep you off the road.
FAQ
- What does “short to ground” mean?
- How can I test the K1 relay?
- What are the common causes of a K1 short to ground?
- How can I prevent future K1 short to ground issues?
- Can I drive my car with a K1 short to ground fault?
- Where is the K1 relay located?
- What is VCDS?
Possible related questions and further reading:
- How to use VCDS for other diagnostic tasks?
- Common VW/Audi electrical problems and solutions.
- Understanding automotive relay circuits.
Need further assistance? Contact us via Whatsapp: +1 (641) 206-8880, Email: CARDIAGTECH[email protected] or visit us at 276 Reock St, City of Orange, NJ 07050, United States. Our customer support team is available 24/7.

