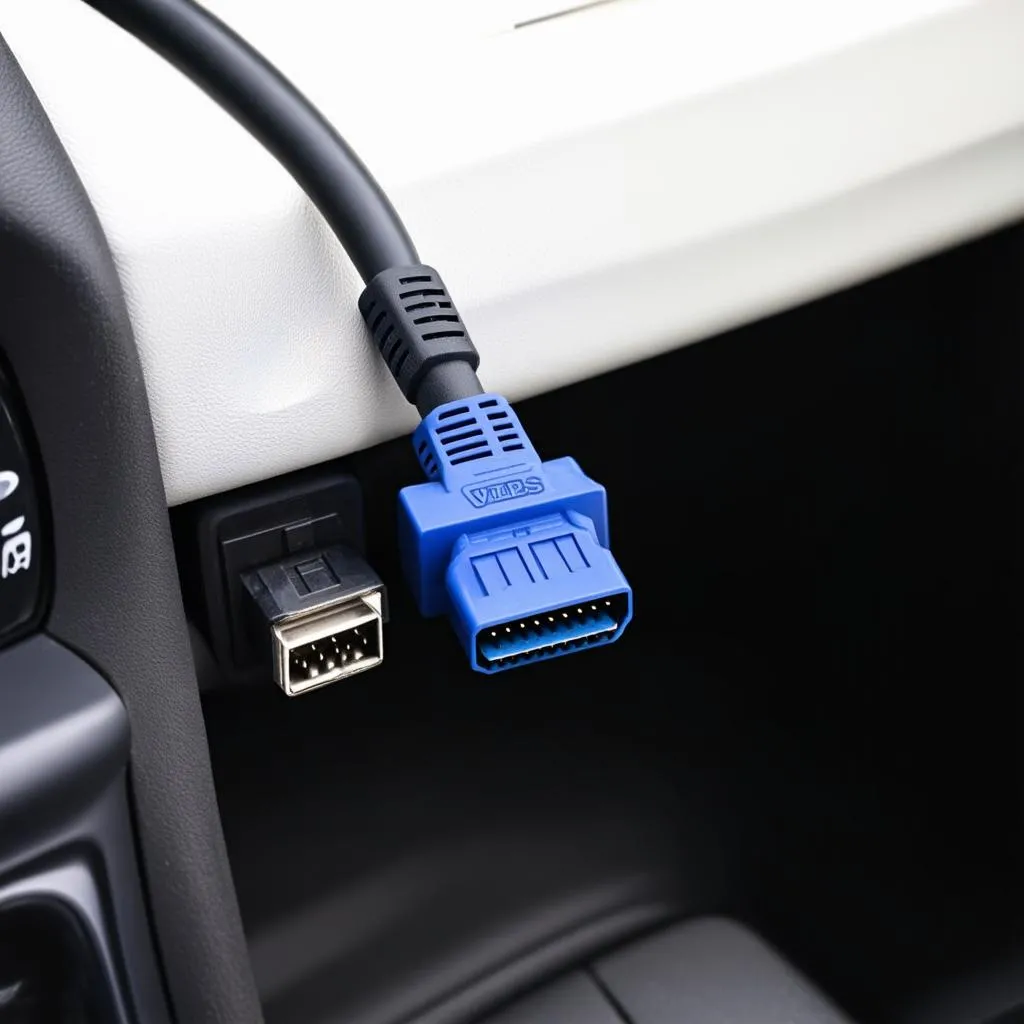
The VCDS USB driver is an essential piece of software for any mechanic or enthusiast looking to delve into the intricate world of Volkswagen and Audi vehicle diagnostics. This driver acts as the crucial bridge between your VCDS software and your vehicle’s onboard computer, allowing you to access, read, and clear fault codes, view live data streams, and even perform advanced coding and adaptations.
This comprehensive guide will equip you with the knowledge to confidently use the VCDS USB driver. We’ll cover everything from installation to troubleshooting, ensuring you can utilize the full potential of your VCDS system.
Understanding the VCDS USB Driver
Before we dive into the practicalities, let’s clarify what the VCDS USB driver is and why it’s so important. In essence, it’s a piece of software that tells your computer how to interact with the VCDS cable and, subsequently, your Volkswagen or Audi’s onboard computer system. Without it, your computer would be clueless about interpreting the data coming from your car.
The VCDS USB driver is specifically designed for use with Ross-Tech’s VCDS software, a renowned diagnostic platform for VAG vehicles. This powerful combination offers a level of depth and functionality that surpasses generic OBD-II scanners, making it an indispensable tool for serious enthusiasts and professionals.
vag-vehicles|VAG Vehicles|A group of modern Volkswagen and Audi cars connected to diagnostics equipment.
Installing the VCDS USB Driver
Getting the VCDS USB driver up and running on your system is generally a straightforward process. Here’s a step-by-step guide to walk you through it:
- Download: Begin by downloading the correct driver version for your operating system (Windows, Mac, or Linux) from the official Ross-Tech website.
- Connect your VCDS cable: Before running the installer, connect your VCDS cable to an available USB port on your computer.
- Run the installer: Locate the downloaded driver file and double-click to initiate the installation process.
- Follow the prompts: The installer will guide you through a series of steps. Carefully read and follow the on-screen instructions.
- Driver signing (Windows): Windows users might encounter a security prompt related to driver signing. It’s crucial to “Install” or “Trust” the driver to ensure proper functionality.
vcds-software-installation|VCDS Software Installation|Screenshots of the step-by-step VCDS software installation process on a Windows computer.
Troubleshooting Driver Installation Issues
While installation is typically smooth, you might encounter occasional hiccups. Here are some common issues and their solutions:
- “Driver not recognized” error: This usually indicates a compatibility issue. Double-check you’ve downloaded the correct driver for your operating system (32-bit or 64-bit).
- Windows Security warnings: If you encounter persistent security warnings, temporarily disabling your antivirus or firewall might help. Remember to re-enable them after installation.
- “No Interface Found” error: This error message pops up when the VCDS software cannot establish communication with your VCDS interface. This could indicate a problem with the cable itself, the USB port, or the driver installation. For detailed troubleshooting steps, refer to our comprehensive guide on “VCDS No Interface Found”.