The world of automotive diagnostics is rapidly evolving, with software playing an increasingly critical role. VCDS, the go-to diagnostic software for VAG (Volkswagen Audi Group) vehicles, is no exception. But did you know its capabilities extend beyond just reading and clearing fault codes? Some versions of VCDS even come equipped with a built-in video editor, allowing you to create comprehensive diagnostic reports. This article delves into the nuances of the VCDS video editor, offering a detailed tutorial for both beginners and experienced technicians.
Understanding the Power of Video in Diagnostics
Before we dive into the tutorial, it’s important to understand why integrating video into your diagnostic process can be a game-changer.
Imagine this: You’re dealing with an intermittent electrical fault, notoriously difficult to diagnose. Using the VCDS video editor, you can record live data streams from the vehicle’s various systems while simultaneously capturing footage of the issue at hand. This dynamic pairing of visual and digital information provides a more holistic view of the problem, facilitating faster and more accurate diagnoses.
Getting Started with the VCDS Video Editor
Is your VCDS Equipped?
Firstly, it’s crucial to verify if your version of VCDS supports the video editor functionality. Not all versions do. You can find this information on the Ross-Tech website or by contacting their support team directly.
Accessing the Editor
Once you’ve confirmed its availability, accessing the video editor is straightforward. Launch the VCDS software and connect to your vehicle’s OBD-II port. Within the main menu, navigate to the section dedicated to “Applications” or “Extras.” The video editor should be listed there.
A Step-by-Step Tutorial
Here’s a simplified guide to using the VCDS video editor:
- Initiate Recording: Click on the record button to begin capturing both video and live data from the selected modules.
- Data Selection: You can choose which data points you want to be displayed on-screen alongside the video. This might include engine RPM, coolant temperature, or specific sensor readings relevant to your diagnosis.
- Real-time Adjustments: The beauty of the VCDS video editor lies in its flexibility. Even during recording, you can pause, rewind, or adjust data parameters to focus on specific events or anomalies.
- Saving Your Recording: Once you’ve captured the necessary footage and data, save the file in the desired format. VCDS typically offers various formats suitable for sharing with clients or colleagues.
Benefits of Using the VCDS Video Editor
- Enhanced Diagnostic Accuracy: Combining visual evidence with live data provides a more comprehensive understanding of vehicle issues.
- Improved Communication: Sharing these videos with clients can clearly illustrate the problem and the steps taken for diagnosis, increasing transparency and trust.
- Valuable Training Tool: The video editor can be used to create training materials for new technicians or to document complex repairs for future reference.
Tips for Effective Video Documentation
- Clear and Concise: Keep your videos focused and to the point, highlighting the most relevant information.
- Good Lighting and Audio: Ensure adequate lighting and minimize background noise for optimal video and audio quality.
- Annotations and Labels: Use the editor’s annotation tools to highlight specific data points or areas of interest within the video.
 VCDS Video Editor Interface
Going Beyond the Basics
While the above steps cover the fundamentals, the VCDS video editor offers more advanced functionalities:
- Time-stamping: This feature synchronizes the video with the exact time data is recorded, proving invaluable for analyzing intermittent issues.
- Overlaying Multiple Data Streams: You can compare data from different modules side-by-side, uncovering potential correlations and causations.
- Exporting to External Software: For advanced editing or analysis, VCDS allows you to export your video and data files to other professional software.
FAQs
Can I use the VCDS video editor with any OBD-II scanner?
No, the video editor is specific to certain versions of the VCDS software and hardware.
What video formats are supported?
VCDS typically supports common formats like AVI, MP4, and WMV. However, this might vary depending on your version. Refer to the Ross-Tech documentation for specific details.
Is there a limit to recording time?
Recording time depends on your computer’s storage capacity and the settings you choose within the VCDS software.
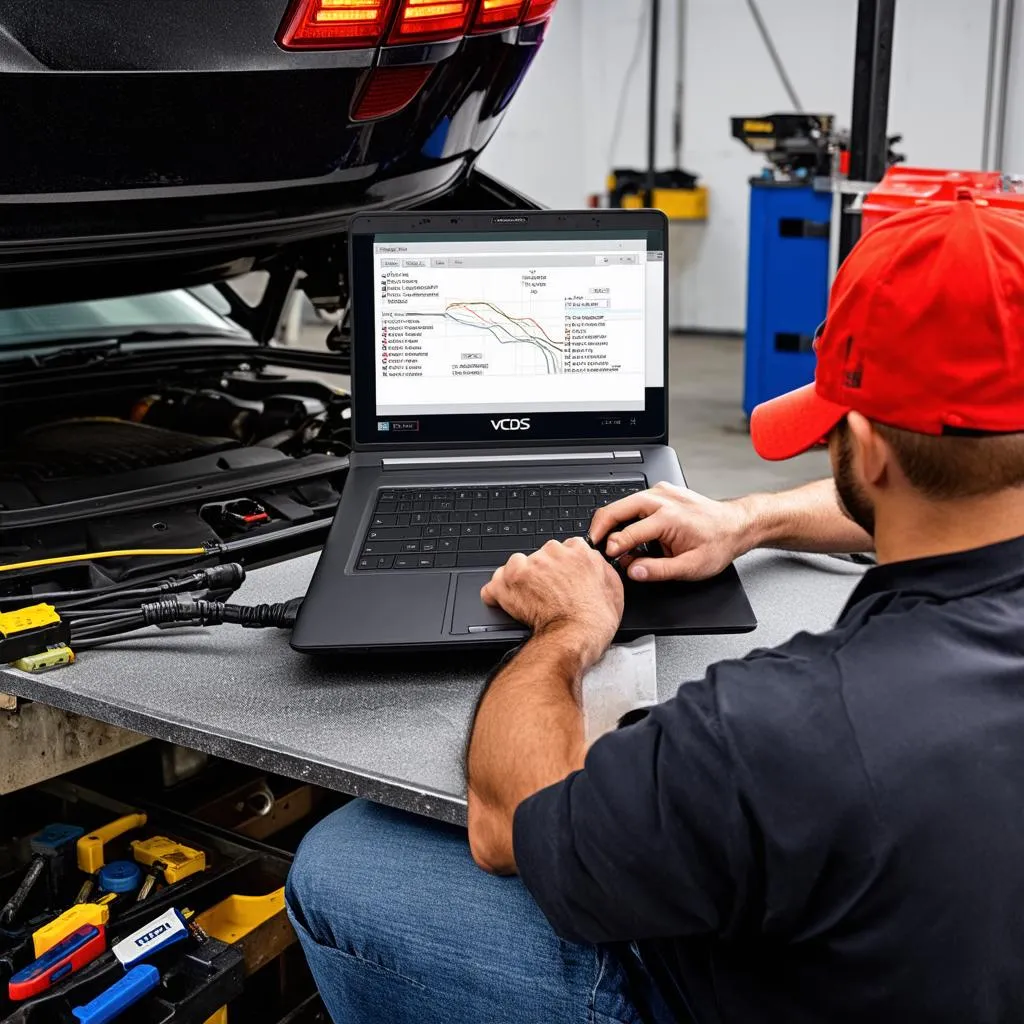 VCDS Diagnostic Setup
Conclusion
The VCDS video editor is a powerful tool that can significantly enhance your diagnostic process. By seamlessly integrating video with live data, you can achieve more accurate diagnoses, improve communication with clients, and create valuable training resources.
For further assistance or to explore the range of diagnostic tools available, connect with CARDIAGTECH. We offer expert advice and top-of-the-line equipment to help you stay ahead in the ever-evolving world of automotive technology.