The brake pad warning light on your Vectra C is a crucial safety feature designed to alert you when the brake pads are worn and require replacement. Ignoring this warning can lead to reduced braking performance and potentially dangerous situations. This comprehensive guide will walk you through the common causes of the Vectra C brake pad warning light, how to diagnose the problem, and the steps involved in replacing your brake pads.
Understanding the Vectra C Brake Pad Warning System
The brake pad warning light is connected to a sensor embedded within the brake pad material itself. As the brake pads wear down over time, the sensor wire eventually makes contact with the brake rotor. This contact completes an electrical circuit, triggering the warning light on your dashboard.
It’s important to note that the warning light can also illuminate due to issues unrelated to worn brake pads, such as:
- Faulty Brake Pad Wear Sensor: The sensor itself might be damaged or malfunctioning.
- Wiring Problems: A break in the wiring harness connected to the sensor can cause a false warning.
- Low Brake Fluid Level: Though typically indicated by a separate warning light, low brake fluid can sometimes trigger the brake pad warning light as well.
Diagnosing the Problem: Is It Time for New Brake Pads?
Before assuming worn brake pads are the culprit, it’s essential to confirm the root cause of the warning light. Follow these steps to diagnose the issue:
- Check Brake Fluid Level: Locate the brake fluid reservoir under the hood and inspect the fluid level. If it’s below the “MIN” mark, add the appropriate brake fluid. However, be cautious of overfilling as this may indicate a leak in the braking system.
- Inspect Brake Pad Thickness: Visually examine your brake pads through the spaces between the wheel spokes. If you have less than ¼ inch of brake pad material remaining, it’s time for replacements.
- Test the Brake Pad Wear Sensor: If the brake fluid level is adequate and the pads appear to have sufficient material, the sensor itself might be faulty. You can use a multimeter to test the sensor for continuity.
Vectra C Brake Pad Replacement: A Step-by-Step Guide
Replacing your Vectra C’s brake pads is a task achievable for most DIY enthusiasts. Here’s a detailed guide to help you through the process:
Tools You Will Need:
- Jack and jack stands
- Lug wrench
- Socket set and wrenches
- C-clamp
- Brake cleaner
- Anti-seize lubricant
- New brake pads (ensure they are compatible with your Vectra C model)
Step-by-Step Instructions:
- Safety First: Park your Vectra C on a level surface, engage the parking brake, and chock the rear wheels for safety.
- Loosen Lug Nuts: Use the lug wrench to loosen the lug nuts on the wheel with the worn brake pads.
- Lift the Vehicle: Position the jack at the designated jacking point and raise the vehicle until the tire is off the ground. Securely support the vehicle with jack stands.
- Remove the Wheel: Fully remove the lug nuts and take off the wheel.
- Access the Brake Caliper: Locate the brake caliper, which houses the brake pads. You may need to remove a few bolts to gain access.
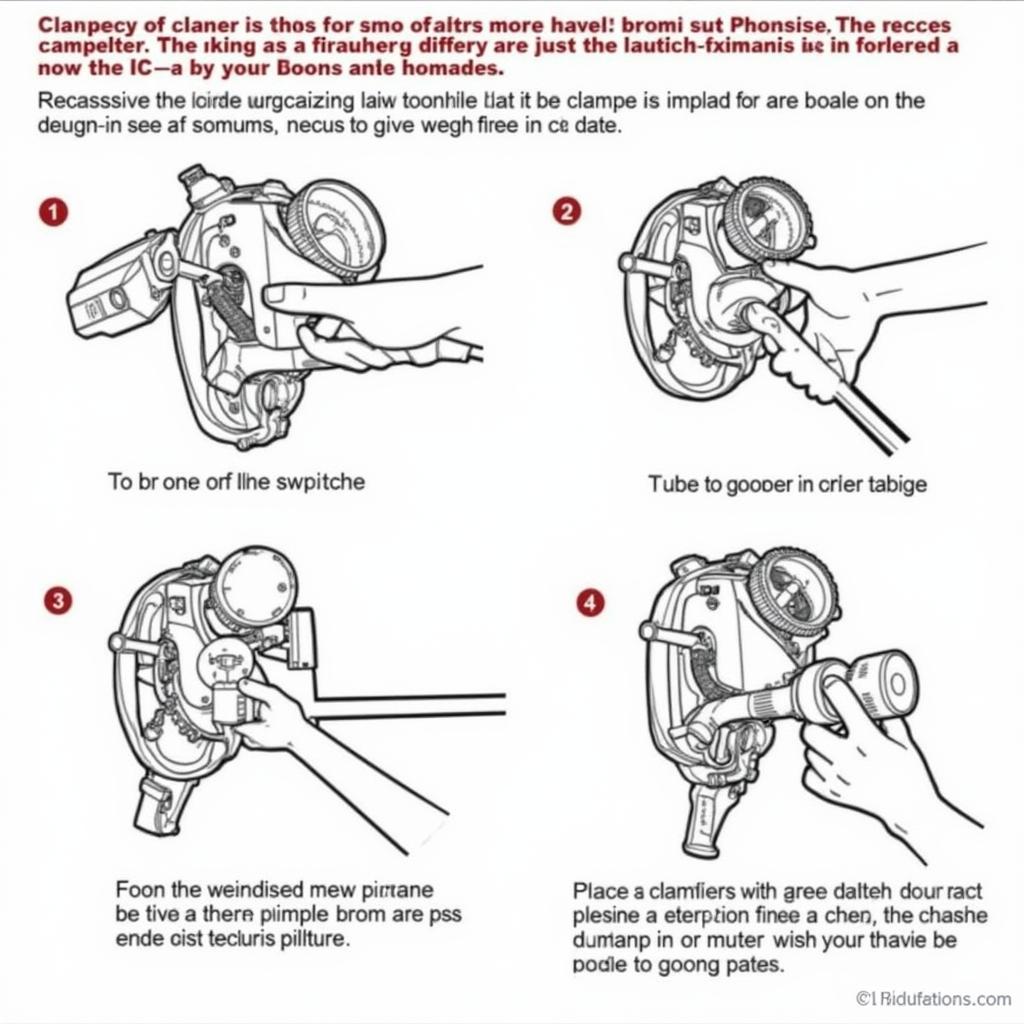
- Compress the Caliper Piston: Using a C-clamp, slowly compress the caliper piston back into its bore. This step creates space for the new, thicker brake pads.
 Compressing Vectra C Brake Caliper
- Remove and Replace the Pads: Once the piston is compressed, remove the retaining clips or pins holding the old brake pads in place. Install the new brake pads, ensuring the wear sensor wire is correctly positioned.
- Reassemble the Caliper: Reinstall the caliper retaining bolts and tighten them to the manufacturer’s specifications.
- Reinstall the Wheel: Place the wheel back onto the hub and hand-tighten the lug nuts.
- Lower the Vehicle: Use the jack to lower the vehicle and then fully tighten the lug nuts in a star pattern.
- Repeat for Other Wheels: If necessary, repeat these steps for the other wheels with worn brake pads.
- Test the Brakes: Before driving, pump the brake pedal several times to restore pressure and ensure the brakes are functioning correctly.
Important Note: If you are uncomfortable performing these steps yourself, it is always recommended to consult a qualified mechanic.
Prolonging the Life of Your Brake Pads: Tips for Optimal Performance
Extending the lifespan of your brake pads not only saves you money but also enhances safety. Here are some tips to keep your brake system in top condition:
- Avoid Hard Braking: Anticipate stops and coast to a stop whenever possible.
- Lighten the Load: Reduce unnecessary weight in your vehicle, as this puts additional stress on the brakes.
- Engine Braking: When driving downhill or slowing down, downshift to utilize engine braking, reducing strain on your brake pads.
- Regular Maintenance: Include brake inspections as part of your routine vehicle maintenance schedule.
 Vectra C Brake System Maintenance
Conclusion: Don’t Ignore the Warning Light
The brake pad warning light on your Vectra C serves as a critical safety alert. Ignoring it can compromise your braking performance and put you at risk. By understanding the warning system, diagnosing the problem, and following the steps outlined in this guide, you can ensure your Vectra C’s brakes are always in optimal condition. Remember, regular maintenance and timely brake pad replacement are essential for your safety on the road.
