A vehicle anti-collision taillight brake warning lamp, also known as a brake light warning light, illuminates on your dashboard when your car’s system detects an issue with your brake lights. This warning light is crucial for safety, as it alerts other drivers that you’re slowing down or stopping. Ignoring this warning light could lead to dangerous situations on the road, potentially resulting in accidents.
Common Causes of a Vehicle Anti-Collision Taillight Brake Warning Lamp
Several factors can trigger the vehicle anti-collision taillight brake warning lamp to turn on. Here are some of the most common culprits:
1. Burnt-Out Brake Light Bulbs
This is the most frequent cause. Brake light bulbs, just like any other bulb, have a limited lifespan and eventually burn out. When a bulb burns out, the electrical circuit is broken, and the warning lamp on your dashboard will illuminate.
2. Blown Fuse
Your vehicle’s electrical system uses fuses to protect components from voltage surges. If there’s a problem with your brake light circuit, the corresponding fuse might blow, causing the brake lights and the warning lamp to stop working.
3. Faulty Brake Light Switch
The brake light switch, usually located above the brake pedal arm, is responsible for turning on the brake lights when you press the pedal. If this switch malfunctions due to wear and tear, misalignment, or damage, it can disrupt the brake light signal, triggering the warning lamp.
4. Wiring Issues
Damaged, corroded, or loose wiring within the brake light circuit can also disrupt the flow of electricity and cause the warning lamp to turn on. This is more common in older vehicles where wiring insulation may deteriorate over time.
5. Malfunctioning Trailer Wiring
If you frequently tow a trailer, faulty wiring connections between your vehicle and the trailer can also trigger the brake light warning lamp. A short circuit or a bad ground connection in the trailer wiring harness can affect the entire brake light system.
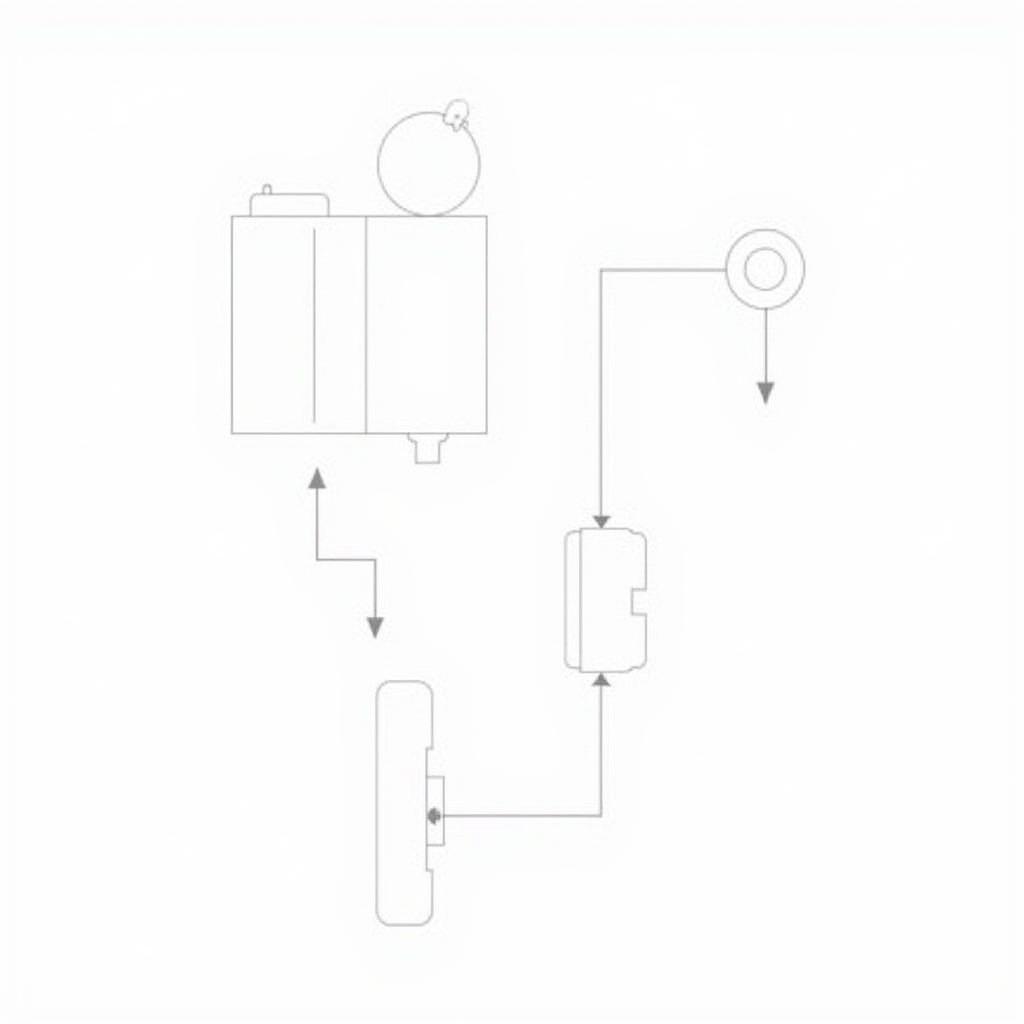 Brake Light Circuit Diagram
How to Diagnose and Fix the Problem
When your vehicle anti-collision taillight brake warning lamp illuminates, it’s crucial to address the issue promptly. Here’s a step-by-step guide to help you diagnose and fix the problem:
-
Check Your Brake Lights: Have a friend or family member press the brake pedal while you check if all brake lights (including the third brake light) are working correctly. If one or more lights are out, replace the corresponding bulbs with new ones of the same type and wattage.
-
Inspect the Fuse: Consult your vehicle owner’s manual to locate the fuse box and identify the fuse associated with your brake lights. Carefully remove the fuse and check if the metal strip inside is broken. Replace a blown fuse with a new one of the same amperage rating.
-
Examine the Brake Light Switch: Locate the brake light switch above the brake pedal arm. Check for any visible damage, loose connections, or misalignment. You can test the switch by depressing it manually while the ignition is on. If the brake lights illuminate, the switch is likely functioning correctly. If not, you may need to adjust or replace it.
-
Inspect the Wiring: Visually inspect the wiring harness connected to your brake lights for any signs of damage, such as cuts, fraying, or corrosion. Pay attention to areas where wires might rub against sharp edges. If you find any damaged wires, you’ll need to repair or replace them.
-
Check Trailer Wiring: If you suspect the issue is related to your trailer wiring, disconnect the trailer from your vehicle and check if the warning lamp turns off. If it does, inspect the trailer wiring harness for any loose connections, corrosion, or damage.
“Remember, if you’re uncomfortable working on your vehicle’s electrical system or lack the necessary tools and experience, it’s always best to consult a qualified mechanic for assistance.” – John Miller, ASE Certified Master Technician.
Preventing Future Problems
To minimize the risk of encountering issues with your brake light system in the future, consider these preventative measures:
- Regular Bulb Checks: Make it a habit to check your brake lights regularly, ideally every time you fill up your gas tank. Replacing burnt-out bulbs promptly can prevent unexpected warning lights and ensure optimal visibility for other drivers.
- Visual Inspections: Periodically inspect your vehicle’s wiring harness, particularly around the brake light circuit, for any signs of wear and tear. Address any damage or loose connections promptly.
- Timely Repairs: If you experience any issues with your brake lights or notice flickering lights, don’t ignore them. Addressing minor issues promptly can prevent them from escalating into more significant problems.
Conclusion
The vehicle anti-collision taillight brake warning lamp plays a critical role in ensuring your safety and the safety of other drivers on the road. Understanding the common causes of this warning light and knowing how to address them can help you stay safe and avoid potentially dangerous situations. Remember, regular maintenance and prompt repairs are key to keeping your vehicle’s braking system in optimal condition.