The dreaded brake pad warning light on your VW Golf Mk6 can be a source of anxiety. Understanding what triggers this light, how to diagnose the problem, and what solutions are available will empower you to address the issue effectively. This article will provide you with a comprehensive guide to troubleshooting and resolving the VW Golf Mk6 brake pad warning light.
Addressing the VW Golf Mk6 brake pad warning light promptly is crucial for maintaining safe braking performance. Ignoring this warning can lead to further damage and compromise your safety on the road. This guide provides clear steps for diagnosing and fixing the problem, empowering you to take control of your vehicle’s maintenance. Let’s delve into the details and get your Golf Mk6 back to optimal braking condition.
The most common reason for the brake pad warning light to illuminate is worn brake pads. However, other factors like faulty sensors, wiring issues, or even a low brake fluid level can also trigger the light. Accurate diagnosis is essential to avoid unnecessary repairs.
Understanding Your VW Golf Mk6 Brake System
Your VW Golf Mk6’s braking system is a complex network of components working together to ensure safe and efficient stopping power. Understanding the basics of this system is key to diagnosing the brake pad warning light. The system comprises brake pads, rotors, calipers, brake lines, and a hydraulic system that applies pressure to the brakes.
Key Components and Their Role in Triggering the Warning Light
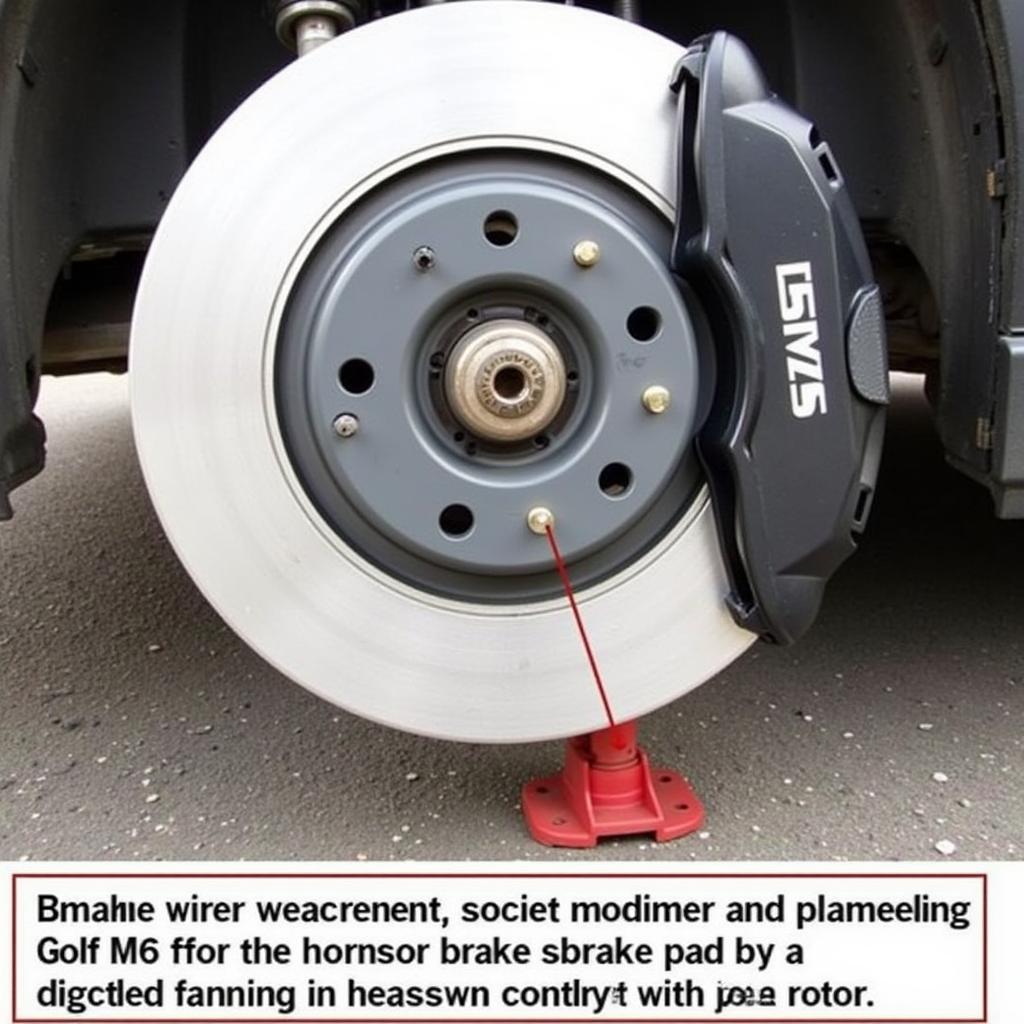
The brake pads are the friction material that clamp down on the rotors to stop the vehicle. Thin brake pads trigger a sensor, illuminating the warning light. This sensor is a small wire embedded within the brake pad material. When the pad wears down to a certain level, the sensor contacts the rotor, completing a circuit and activating the warning light on your dashboard.
 VW Golf Mk6 Brake Pad Sensor
It’s essential to remember that the warning light can also be triggered by a malfunctioning sensor, damaged wiring, or even a low brake fluid level.
Diagnosing the VW Golf Mk6 Brake Pad Warning Light
Before rushing to replace your brake pads, it’s crucial to diagnose the problem accurately. Here’s a step-by-step guide:
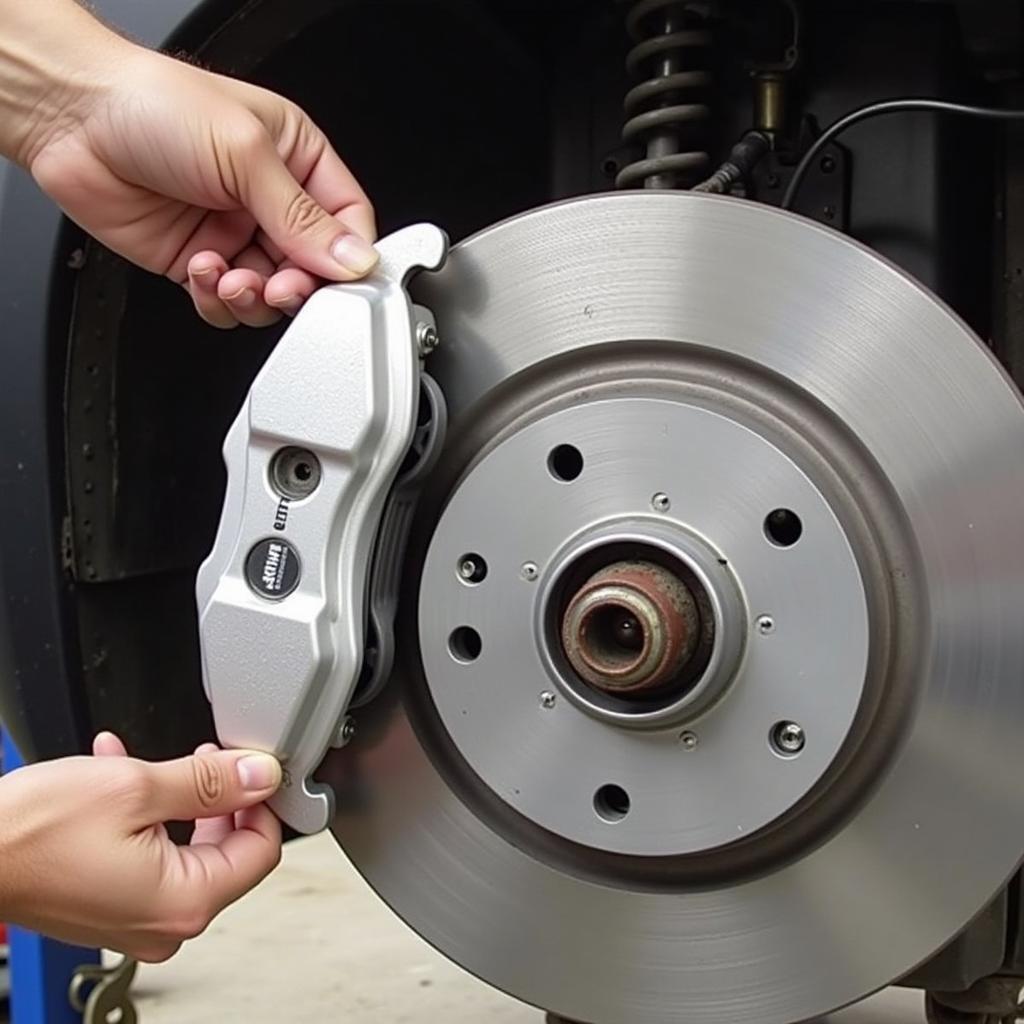
- Visual Inspection: Carefully examine your brake pads. Look for signs of excessive wear. If the pad material is thin or you can see the metal backing plate, it’s time for new pads.
- Check Brake Fluid Level: A low brake fluid level can also trigger the warning light. Locate the brake fluid reservoir and ensure the fluid is at the recommended level.
- Inspect Brake Pad Sensors: Carefully examine the brake pad wear sensors for any damage or disconnections.
 VW Golf Mk6 Brake Pad Inspection
“Regularly inspecting your brake system can prevent unexpected issues and ensure your safety on the road,” advises Robert Johnson, ASE Certified Master Technician.
What if the Light Stays On After Replacing Brake Pads?
If the warning light remains illuminated after replacing your brake pads, there might be a problem with the sensor itself, the wiring, or the brake pad warning light reset procedure. You might need a diagnostic scan tool to identify and resolve the issue.
VW Golf Mk6 Brake Pad Replacement and Reset
Replacing your brake pads is a relatively straightforward process, but if you are not comfortable working on your car’s braking system, it’s best to take it to a qualified mechanic.
- Gather Tools and Materials: You’ll need new brake pads, a jack, jack stands, a lug wrench, and appropriate wrenches for your caliper bolts.
- Lift and Secure the Vehicle: Safely lift the vehicle using a jack and secure it with jack stands.
- Remove the Wheel: Remove the wheel to access the brake caliper.
- Replace the Brake Pads: Compress the caliper piston, remove the old brake pads, and install the new ones.
- Reassemble and Test: Reassemble everything, lower the vehicle, and test the brakes carefully.
vw golf mk6 brake pad warning light reset
After replacing the brake pads, you may need to reset the brake pad warning light. This can typically be done using a diagnostic scan tool, but some models allow for a manual reset procedure. Consult your owner’s manual or a qualified mechanic for specific instructions.
vw golf mk6 brake warning light
Common Mistakes to Avoid During Brake Pad Replacement
Avoid forcing the caliper piston back without properly compressing it, as this can damage the caliper. Also, ensure you use the correct brake pads for your VW Golf Mk6.
“Using incorrect brake pads can compromise your braking performance and even lead to premature wear,” cautions Maria Sanchez, Automotive Engineer specializing in brake systems.
Preventing Future Brake Pad Warning Light Issues
Regular brake inspections and maintenance are crucial for preventing future issues. Adhering to your VW Golf Mk6’s recommended maintenance schedule can help identify potential problems early on. Driving habits also play a role. Aggressive driving can accelerate brake pad wear.
Conclusion
The VW Golf Mk6 brake pad warning light serves as a crucial safety feature, alerting you to potential issues with your braking system. By understanding how to diagnose and address the underlying causes, you can ensure optimal braking performance and maintain your safety on the road. Remember, regular maintenance and prompt attention to warning lights are key to a safe and reliable driving experience.
FAQ
- How often should I check my brake pads? It’s recommended to visually inspect your brake pads every 10,000 miles or during your regular tire rotations.
- Can I drive with the brake pad warning light on? While you might be able to drive a short distance, it’s highly recommended to address the issue immediately as driving with worn brake pads can be dangerous.
- How much does it cost to replace brake pads on a VW Golf Mk6? The cost varies depending on the type of brake pads and labor rates, but generally ranges from $150 to $300.
- Can I replace my brake pads myself? If you have some mechanical experience, replacing brake pads is a relatively straightforward DIY job. However, if you are unsure, it’s always best to consult a qualified mechanic.
- What happens if I ignore the brake pad warning light? Ignoring the warning light can lead to further damage to your braking system, including damage to the rotors and calipers, which can result in significantly higher repair costs.
- How do I reset the brake pad warning light after replacing the pads? This can be done with a diagnostic scan tool or sometimes through a manual reset procedure. Consult your owner’s manual or a qualified mechanic for specific instructions.
- Why is my brake pad warning light still on after replacing the pads? This could indicate a faulty sensor, wiring issue, or a problem with the reset procedure. A diagnostic scan tool can help pinpoint the problem.

