The brake pad warning light on your VW T4 is a crucial safety feature, designed to alert you when your brake pads are wearing thin and need replacement. Ignoring this warning can lead to compromised braking performance and potential safety hazards. This comprehensive guide will walk you through the process of resetting the brake pad warning light on your VW T4, empowering you to address this common issue.
Understanding the VW T4 Brake Pad Warning Light
The brake pad warning light, often appearing as a circle with dashed lines surrounding a parenthesis on either side and an exclamation mark in the center, illuminates on your dashboard for several reasons:
- Worn Brake Pads: The most common reason for the light to appear is that your brake pads have reached their minimum thickness.
- Faulty Brake Pad Sensor: Your VW T4 is equipped with brake pad wear sensors. These sensors are small wires embedded within the brake pad material. If a sensor gets damaged or worn out, it can trigger the warning light.
- Electrical Issue: In some cases, a short circuit or wiring problem within the brake pad warning system can cause the light to illuminate even if the brake pads are in good condition.
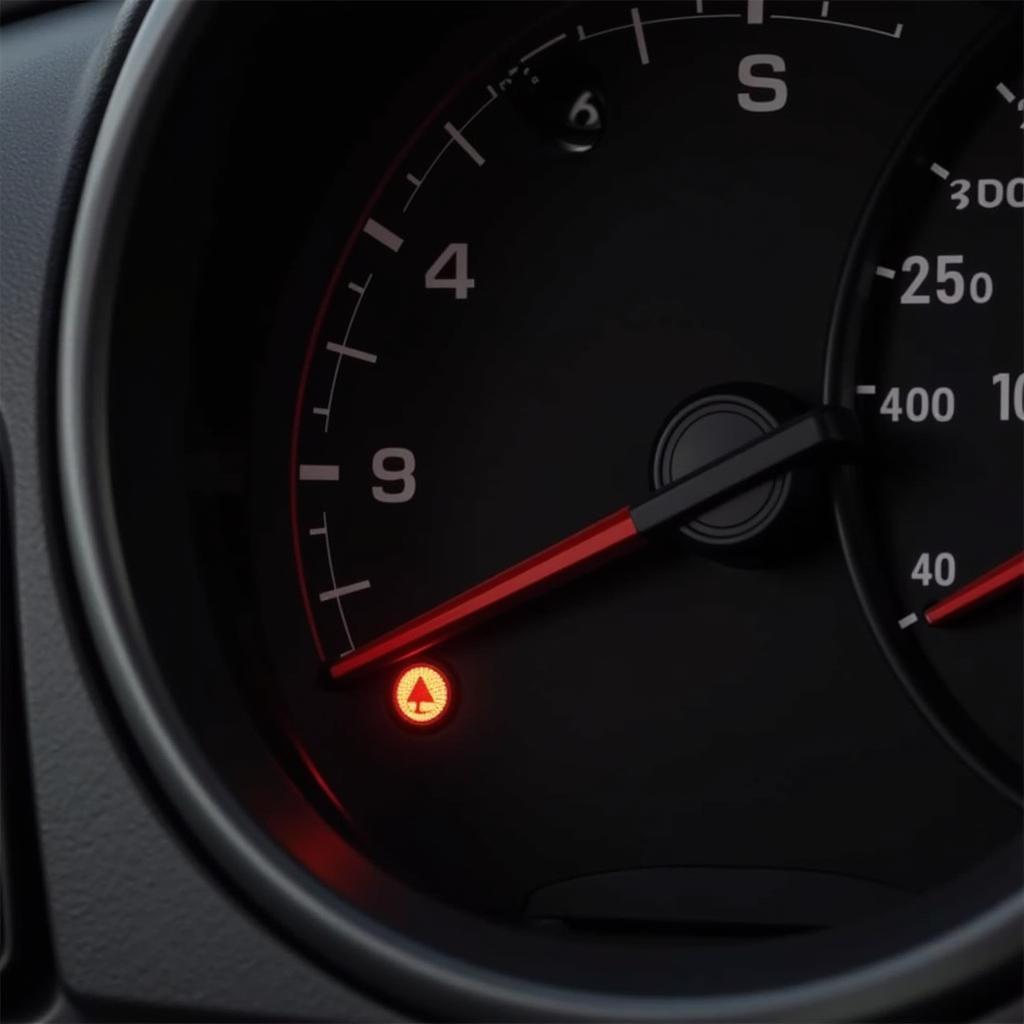 VW T4 Brake Pad Warning Light Dashboard
Resetting the VW T4 Brake Pad Warning Light: A Step-by-Step Guide
Before attempting to reset the warning light, it’s important to inspect your brake pads to determine if they are indeed worn. If you’re not comfortable performing this check yourself, consult a qualified mechanic.
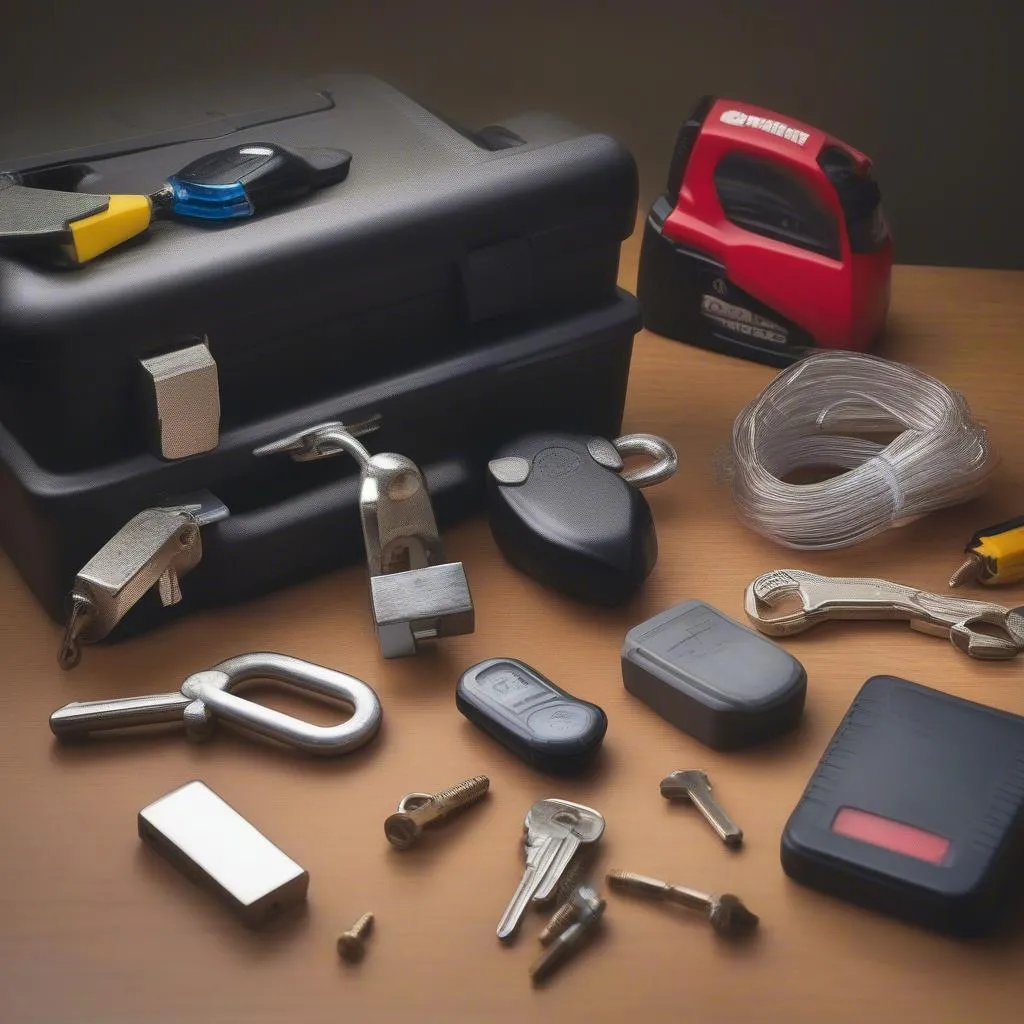
Materials Needed:
- New brake pads (if required)
- Jack and jack stands
- Lug wrench
- C-clamp or brake piston compressor tool
- Torque wrench
Steps:
- Safety First: Park your VW T4 on a level surface, engage the parking brake, and chock the rear wheels.
- Access the Brake Pads: Use the lug wrench to slightly loosen the lug nuts on the wheel where you’ll be inspecting the brake pads.
- Lift the Vehicle: Using the jack, carefully lift the vehicle and secure it on jack stands. Never work under a vehicle solely supported by a jack.
- Remove the Wheel: With the vehicle securely on jack stands, fully remove the lug nuts and take off the wheel.
- Inspect the Brake Pads: Carefully examine the brake pads. If the friction material is worn down close to the metal backing plate, they need to be replaced.
- Replace Brake Pads (If Necessary): If the brake pads require replacement, use the C-clamp or brake piston compressor tool to compress the caliper piston back into the caliper, creating space for the new, thicker pads. Install the new brake pads, ensuring they are seated correctly.
- Reinstall the Wheel: Place the wheel back onto the hub and hand-tighten the lug nuts.
- Lower the Vehicle: Carefully lower the vehicle using the jack. Once the vehicle is on the ground, use the lug wrench to fully tighten the lug nuts in a star pattern to the manufacturer’s specified torque.
- Turn on the Ignition: With the new brake pads installed and the wheel properly secured, turn the ignition key to the “on” position but do not start the engine.
- Check the Warning Light: The brake pad warning light should now be off. If it remains illuminated, there may be a fault with the sensor or wiring.
What if the Warning Light Stays On?
If you’ve replaced the brake pads and the warning light persists, consider the following:
- Check the Sensor: Inspect the brake pad wear sensor for any damage or disconnection. If damaged, replace the sensor.
- Inspect Wiring: Examine the wiring harness connected to the sensor for any loose connections, fraying, or damage. Repair or replace any faulty wiring.
- Consult a Professional: If you are unable to pinpoint the issue or are not comfortable working with the braking system, consult a qualified mechanic to diagnose and resolve the problem.
Expert Insights
“Many VW T4 owners overlook the importance of regular brake pad inspections,” says Mark Stevenson, a senior automotive technician with over 20 years of experience specializing in European vehicles. “Waiting until the brake pad warning light illuminates can sometimes lead to more costly repairs down the line, especially if damage occurs to the rotors or other brake components due to neglected maintenance.”
Conclusion
Addressing the brake pad warning light on your VW T4 is crucial for safe and reliable driving. By following the steps outlined in this guide, you can confidently assess and address the issue. Remember, your brakes are paramount to your safety and the safety of others on the road. If you’re ever unsure about any aspect of brake maintenance, always err on the side of caution and consult a professional mechanic.