Warner brake shoes are a popular choice for a variety of vehicles, from cars and trucks to trailers and heavy-duty equipment. These brake shoes are known for their durability, reliability, and performance. But like any other brake component, Warner brake shoes can experience issues over time.
This comprehensive guide delves into the intricacies of Warner brake shoes, covering everything from their functionality and installation to common problems and troubleshooting tips.
What are Warner Brake Shoes and How Do They Work?
Warner brake shoes are a crucial component of drum brake systems, responsible for generating the friction needed to slow down or stop a vehicle. These shoes are typically made of steel and lined with a friction material that makes contact with the brake drum.
When you press the brake pedal, hydraulic pressure activates the wheel cylinder, pushing the brake shoes outward against the drum’s inner surface. This friction generates heat and slows down the drum’s rotation, effectively slowing down or stopping the vehicle.
Different Types of Warner Brake Shoes
Warner offers a wide range of brake shoes designed for different vehicle types and applications. Some of the most common types include:
- Leading/Trailing Shoe: This traditional design utilizes one leading shoe and one trailing shoe per wheel.
- Dual Servo: In this setup, both shoes act as leading shoes, offering increased braking force.
- Uni-Servo: Uni-servo brake shoes are self-energizing, providing more braking power with less pedal effort.
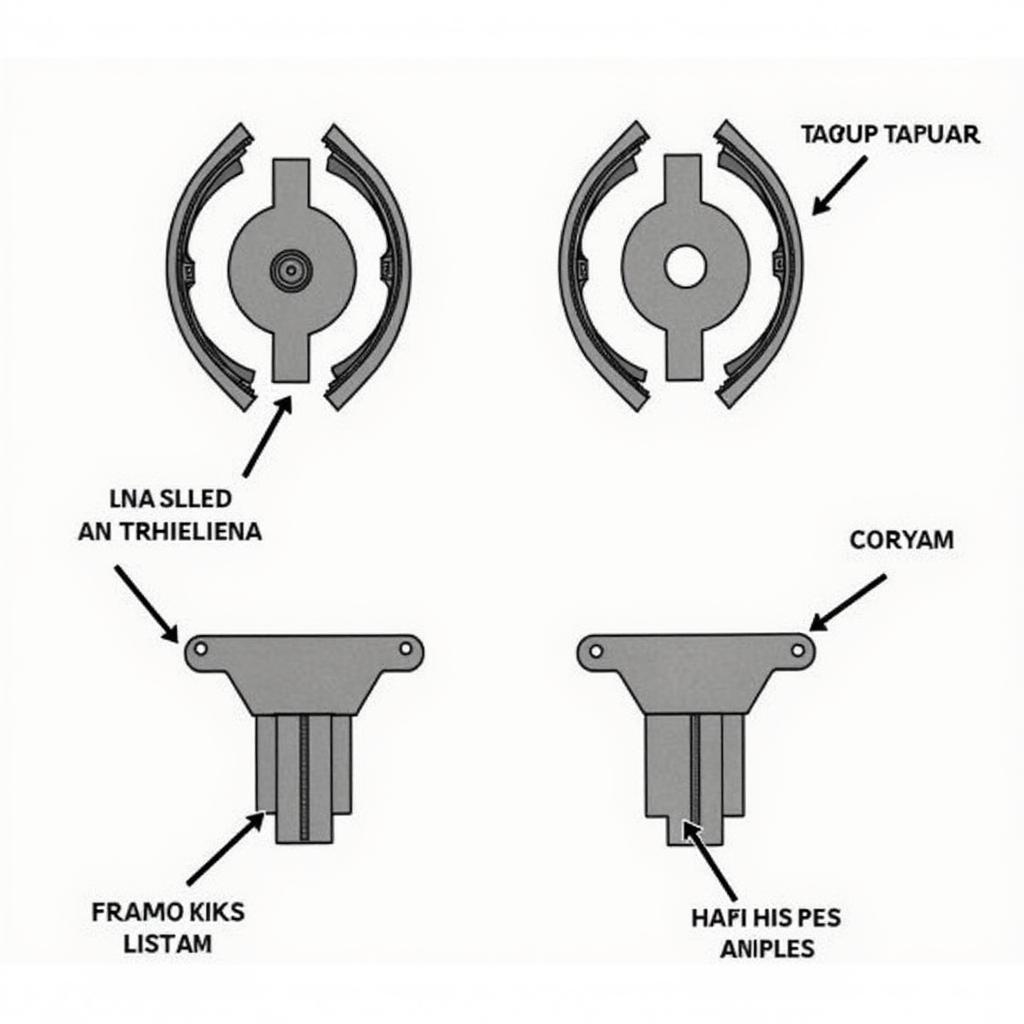 Types of Warner Brake Shoes
Common Problems with Warner Brake Shoes
Over time, Warner brake shoes can exhibit signs of wear and tear, leading to various problems. Here are some common issues:
- Noisy Brakes: Squealing, grinding, or scraping noises during braking can signal worn-out brake shoes, improper installation, or a lack of lubrication.
- Reduced Braking Performance: If you experience a soft brake pedal, longer stopping distances, or a pulling sensation while braking, it could indicate worn brake shoes or other brake system issues.
- Uneven Wear: Uneven wear patterns on the brake shoes can point towards problems with the brake hardware, wheel cylinder, or improper adjustments.
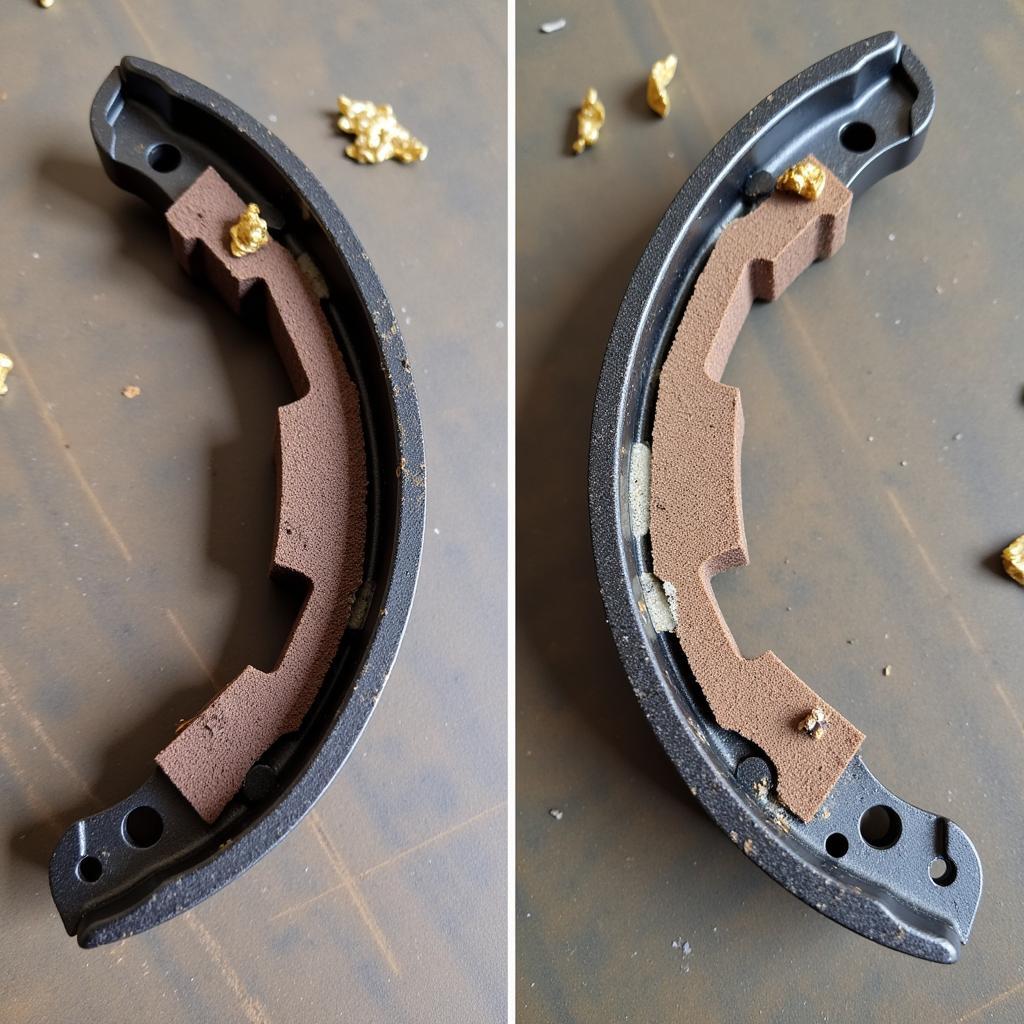 Worn Out Warner Brake Shoe
Troubleshooting Warner Brake Shoe Issues
Diagnosing and addressing brake problems early is crucial for ensuring your safety on the road.
How can I tell if my Warner brake shoes are bad?
Several signs might indicate your Warner brake shoes need attention:
- Visual Inspection: Look for signs of wear, cracks, or damage on the friction material. If the material is worn down to the rivets, it’s time for a replacement.
- Noise: Unusual noises like squealing or grinding are often early indicators of brake shoe problems.
- Brake Pedal Feel: A spongy or soft brake pedal can indicate a problem with the hydraulic system or worn brake shoes.
How to properly install Warner brake shoes?
Proper installation is crucial for optimal brake shoe performance and longevity. Here’s a step-by-step guide:
- Safety First: Always work in a well-ventilated area and disconnect the negative battery cable before starting any brake work.
- Prepare the Drum: Clean the brake drum thoroughly and inspect it for any damage or grooves.
- Assemble the Hardware: Install the brake shoes, springs, adjusters, and other hardware components according to the manufacturer’s specifications.
- Adjust the Brakes: Adjust the brake shoes so they make slight contact with the drum.
- Reassemble and Test: Reinstall the wheel assembly and test the brakes at low speeds to ensure they are functioning correctly.
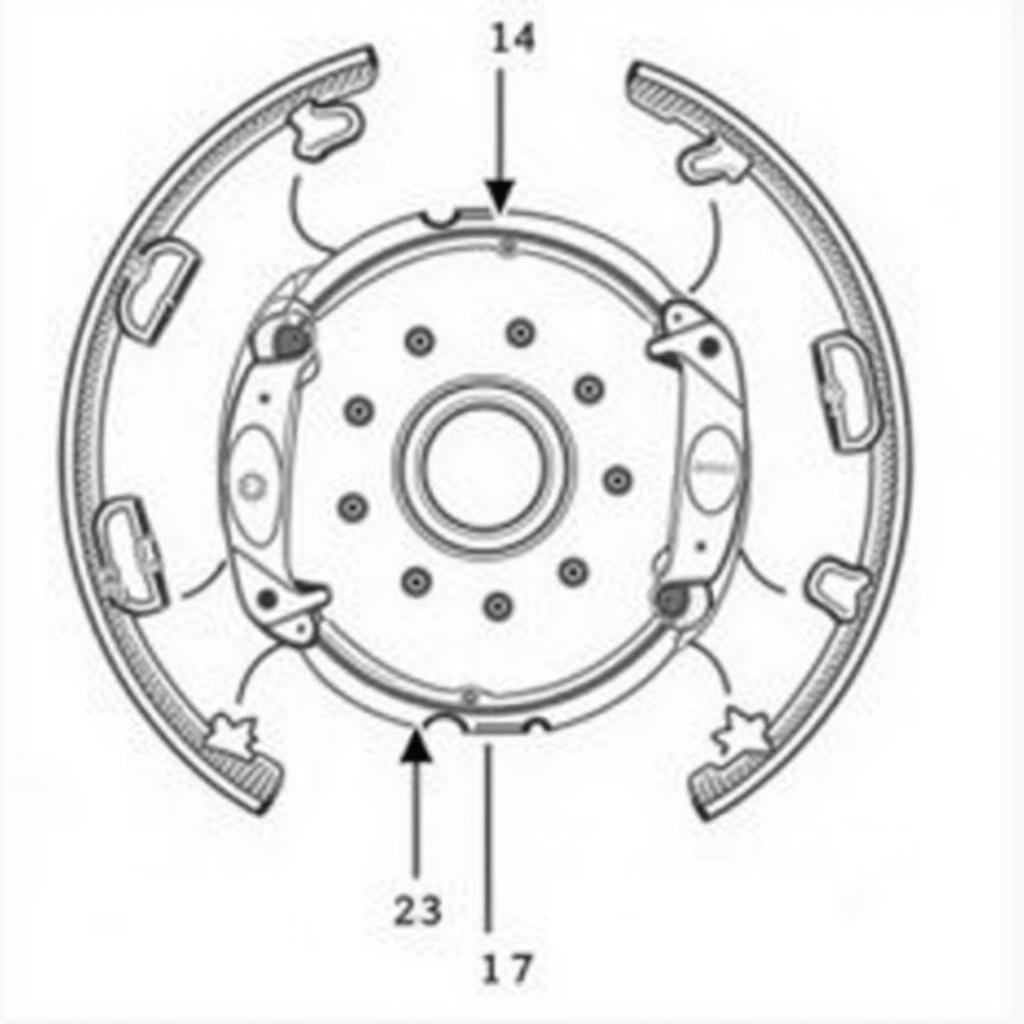 Warner Brake Shoe Installation Guide
What can cause new Warner brake shoes to be noisy?
Even new brake shoes can become noisy due to several factors:
- Improper Break-In: New brake shoes need to be gradually “bedded in” to allow the friction material to mate properly with the drum.
- Glazing: Excessive heat or improper braking can lead to a glazed surface on the brake shoes, causing noise.
- Missing or Damaged Hardware: Always ensure all brake hardware components are in good condition and properly installed.
Maintaining Your Warner Brake Shoes for Optimal Performance
Regular maintenance is key to maximizing the lifespan and performance of your Warner brake shoes:
- Regular Inspections: Inspect your brake shoes for wear and tear at least every 12,000 miles or as recommended by your vehicle manufacturer.
- Proper Lubrication: Use high-temperature brake grease on the contact points between the shoes and backing plates to reduce friction and prevent noise.
- Timely Replacements: Replace your brake shoes as soon as they reach their minimum thickness specification or show signs of damage.
Conclusion
Warner brake shoes are a reliable and durable braking solution, but understanding their functionality, potential problems, and maintenance needs is vital for ensuring optimal braking performance and your safety on the road. Always consult a qualified mechanic if you encounter persistent brake problems or are uncomfortable performing brake repairs yourself.
Remember, regular inspections, proper maintenance, and timely replacements are crucial for keeping your brakes in top condition and ensuring a safe driving experience.