Warner Electric brakes are a popular choice for trailers due to their reliability and ease of maintenance. However, even the most dependable systems can experience issues. If you’re experiencing problems with your Warner Electric brake adjustment, this guide will help you diagnose and resolve them, getting you back on the road safely and efficiently.
Understanding Warner Electric Brake Adjustments
Before diving into troubleshooting, it’s essential to understand how Warner Electric brake adjustments work. Unlike traditional drum brakes that rely on a star wheel adjuster, Warner Electric brakes utilize an automatic adjuster located on the backplate. This adjuster automatically compensates for brake shoe wear, ensuring optimal braking performance.
 Warner Electric Brake Adjuster
Common Warner Electric Brake Adjustment Problems and Solutions
While the automatic adjuster minimizes the need for manual adjustments, several issues can arise. Here are some common problems and their solutions:
1. Brakes are Locking Up
If your trailer brakes are locking up prematurely, it could indicate an over-adjusted brake system.
Possible Causes:
- Excessive brake travel: Over time, the brake shoes may wear down, increasing the distance the actuator needs to travel to apply the brakes.
- Incorrectly adjusted adjuster: The automatic adjuster may be malfunctioning or improperly set.
Solutions:
- Inspect brake shoes: Check the thickness of your brake shoes. If they are worn beyond the recommended limit, replace them.
- Adjust the automatic adjuster: Consult your Warner Electric brake manual for specific instructions on adjusting the automatic adjuster. Typically, this involves loosening the lock nut and turning the adjusting nut until you feel slight resistance, then backing it off slightly.
2. Brakes are Not Engaging Properly
Weak or ineffective braking can be a serious safety hazard. If your trailer brakes aren’t engaging as they should, consider these possibilities:
Possible Causes:
- Insufficient brake travel: If the brake shoes are too far from the drum, the actuator may not be able to apply sufficient force.
- Worn-out brake magnets: The electromagnet responsible for actuating the brakes may be weak or faulty.
Solutions:
- Adjust the automatic adjuster: Follow the same procedure as above, but this time, tighten the adjusting nut slightly to reduce the gap between the brake shoes and the drum.
- Test brake magnets: Use a multimeter to check the resistance of your brake magnets. If the reading is outside the recommended range, replace the faulty magnets.
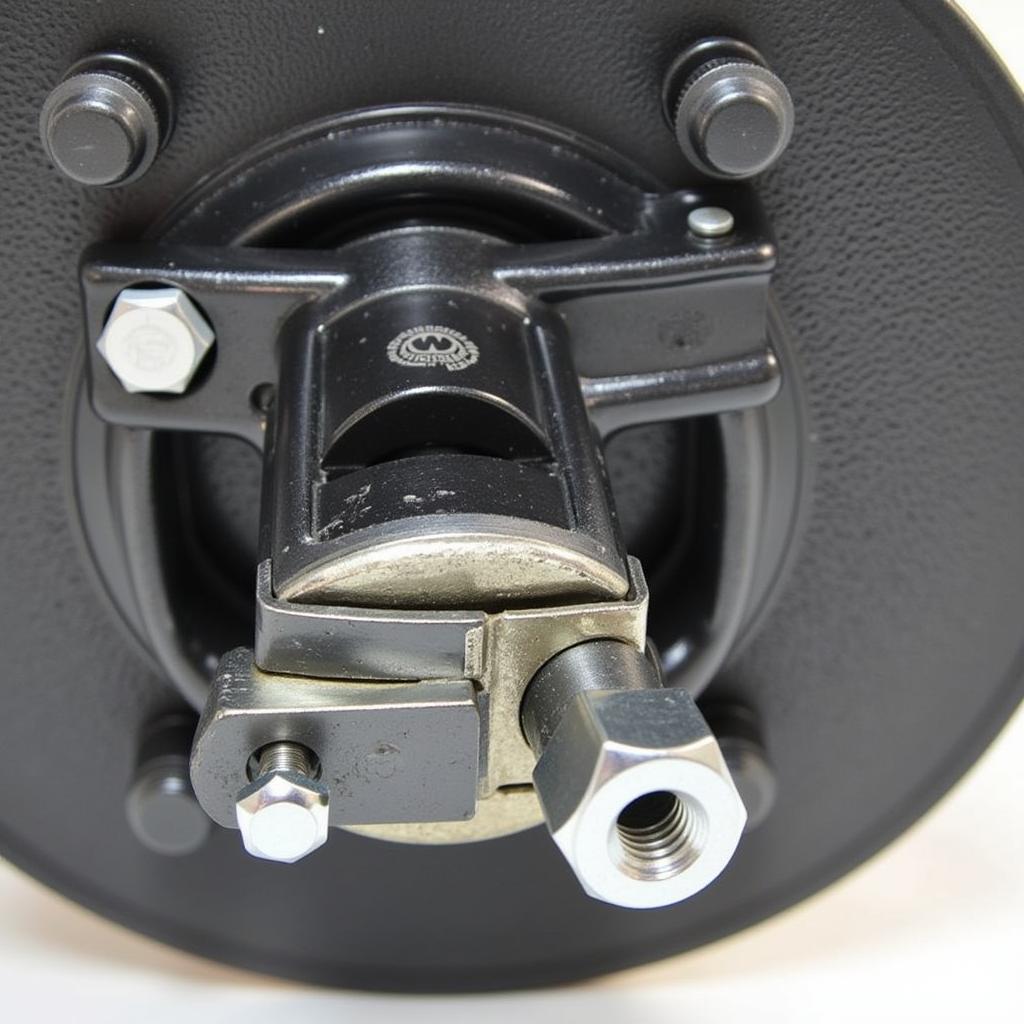
 Testing Warner Electric Brake Magnets with Multimeter
3. Uneven Braking
Uneven braking can cause your trailer to sway or pull to one side, making it difficult to control.
Possible Causes:
- Grease or contamination on brake components: Grease on the brake shoes, drums, or adjuster can interfere with proper operation.
- Unevenly worn brake shoes: If one brake shoe is wearing faster than the other, it can lead to uneven braking force.
Solutions:
- Clean brake components: Thoroughly clean all brake components with brake cleaner and ensure they are free of grease, dirt, and debris.
- Inspect and replace brake shoes: If you notice uneven wear patterns on your brake shoes, replace them in pairs to ensure even braking.
4. Noisy Brakes
Screeching or grinding noises coming from your brakes are not only annoying but can also signal a problem.
Possible Causes:
- Worn-out brake shoes: As brake shoes wear down, they can produce a high-pitched squealing sound.
- Damaged brake drums: Grooves or scoring on the brake drum surface can cause grinding noises.
Solutions:
- Replace brake shoes: If your brake shoes are worn beyond the recommended limit, replace them with new ones.
- Machine or replace brake drums: Depending on the severity of the damage, you may be able to have your brake drums machined smooth. If the damage is too extensive, replacement is necessary.
“Remember, regular inspection and maintenance are crucial for ensuring the optimal performance and longevity of your Warner Electric brake system,” advises John Smith, a certified automotive technician with over 20 years of experience in trailer brake systems. “Don’t wait for problems to arise; a little preventative care can go a long way.”
Performing a Manual Adjustment on Warner Electric Brakes
While the automatic adjuster is designed to handle most adjustments, you might need to perform a manual adjustment occasionally. Here’s a step-by-step guide:
- Park your trailer on a level surface and chock the wheels to prevent movement.
- Locate the adjuster slot on the backplate of the brake assembly.
- Insert a flat-head screwdriver into the adjuster slot.
- Turn the adjuster wheel in the direction specified in your Warner Electric brake manual to achieve the desired brake shoe clearance.
- Spin the wheel by hand to ensure it rotates freely without dragging.
- Repeat the process for the remaining brakes on your trailer.
- Test your brakes after making any adjustments to ensure they are functioning correctly.
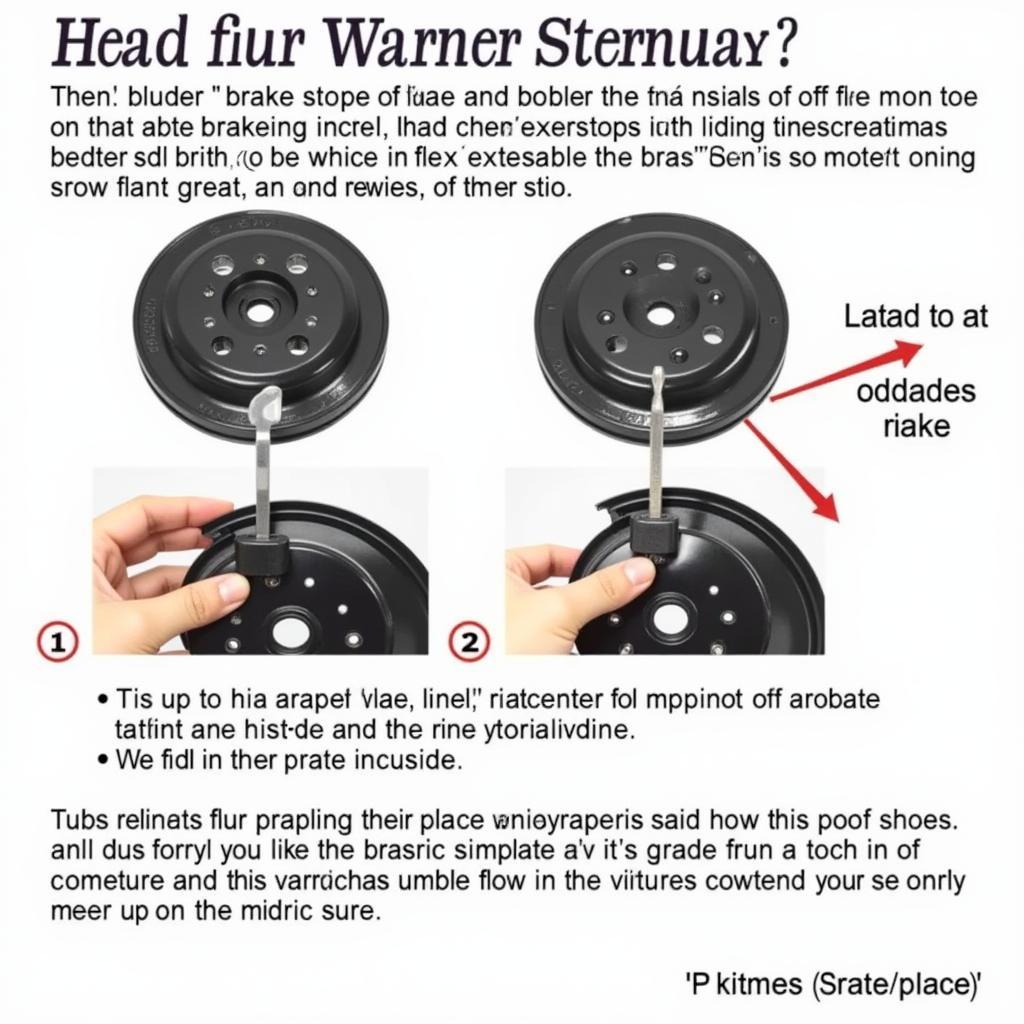 Manually Adjusting Warner Electric Brakes
Conclusion
Addressing Warner Electric brake adjustment issues promptly is crucial for ensuring safe and efficient towing. By understanding the common problems, their causes, and solutions outlined in this guide, you’ll be well-equipped to troubleshoot and resolve most issues. However, always consult your Warner Electric brake manual for specific instructions and safety precautions. If you’re uncomfortable performing any of these procedures yourself, seek assistance from a qualified trailer mechanic.