The Warner Electric Brake ERD 35 C is a crucial component in many heavy-duty vehicles, ensuring reliable stopping power and road safety. However, like any complex system, it can experience issues. This comprehensive guide provides expert insights into diagnosing, troubleshooting, and resolving common problems with your ERD 35 C brake, empowering you to get back on the road quickly and safely.
Understanding the Warner Electric Brake ERD 35 C
The ERD 35 C is an electrically actuated drum brake commonly found on trailers and heavy-duty trucks. It operates on a simple principle: when you apply your brakes, an electrical signal activates an electromagnet within the brake assembly. This magnet attracts a brake armature, pushing the brake shoes outward against the drum, generating friction and slowing or stopping the vehicle.
Common Issues and Troubleshooting Tips
Understanding the potential issues with your ERD 35 C electric brake and their solutions can save you time and money. Here’s a breakdown of common problems:
1. No Power to the Brake
Symptoms: The brake fails to engage when you press the brake pedal.
Possible Causes:
- Blown fuse or tripped circuit breaker
- Damaged wiring harness
- Faulty brake controller
Troubleshooting:
- Check the fuse: Locate the fuse related to your trailer brakes and inspect it for any breaks. If you find a blown fuse, replace it with a new one of the same amperage.
- Inspect the wiring harness: Examine the wires connecting the brake controller to the brake assembly for any signs of damage, such as cuts, frays, or loose connections. Repair or replace any damaged wiring.
- Test the brake controller: Use a multimeter to ensure the brake controller is sending power to the brakes when you apply the brake pedal. If not, the controller may need replacement.
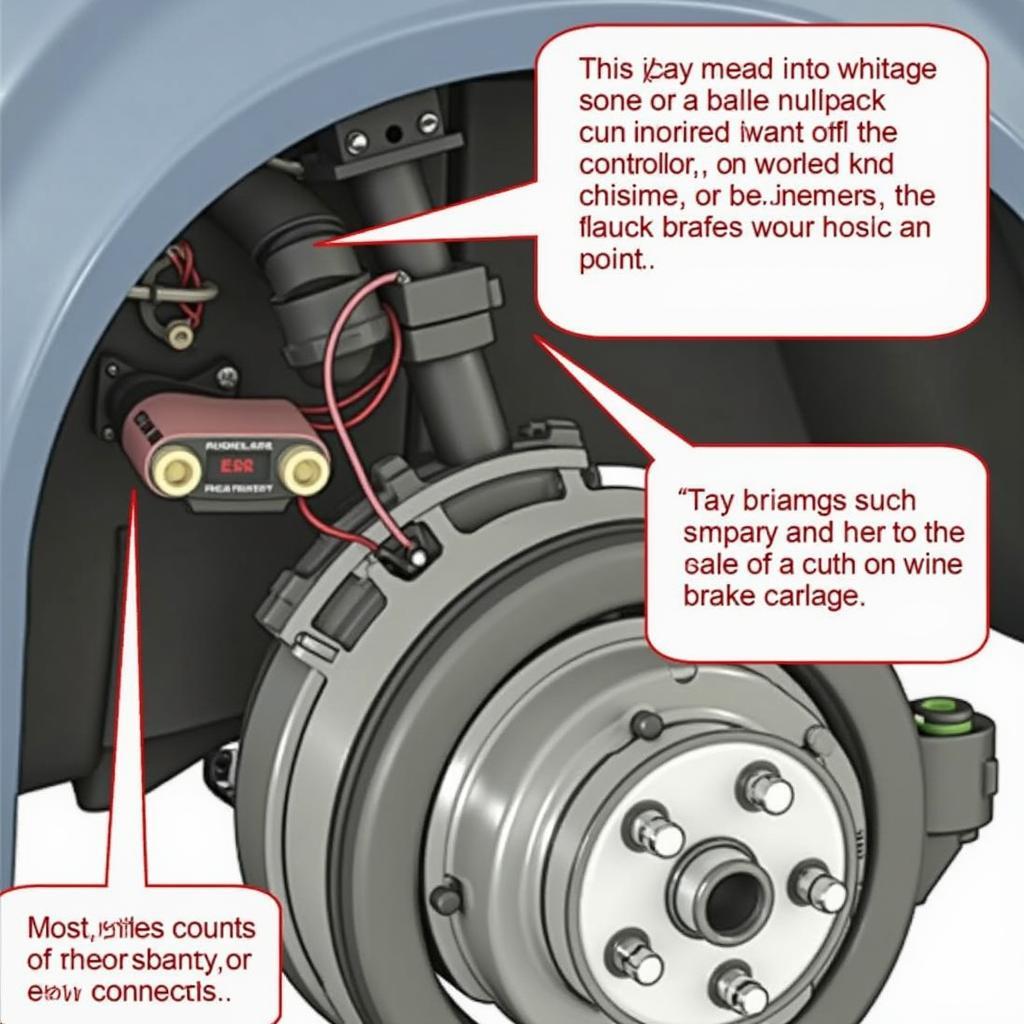 Trailer Brake Wiring Diagram
2. Brake Dragging or Overheating
Symptoms: You notice reduced fuel efficiency, the brake drum feels hot, or you hear a grinding noise.
Possible Causes:
- Maladjusted brakes
- Worn brake shoes
- Seized or sticking components
Troubleshooting:
- Adjust the brakes: Ensure the brakes are correctly adjusted according to the manufacturer’s specifications. Proper adjustment ensures the brake shoes don’t drag against the drum when not in use.
- Inspect the brake shoes: Worn brake shoes can cause excessive friction, leading to dragging and overheating. Replace the brake shoes if they are nearing the wear limit.
- Check for seized components: Rust, corrosion, or lack of lubrication can cause brake components to seize. Inspect the wheel cylinder, brake shoe return springs, and other moving parts. Clean, lubricate, or replace components as necessary.
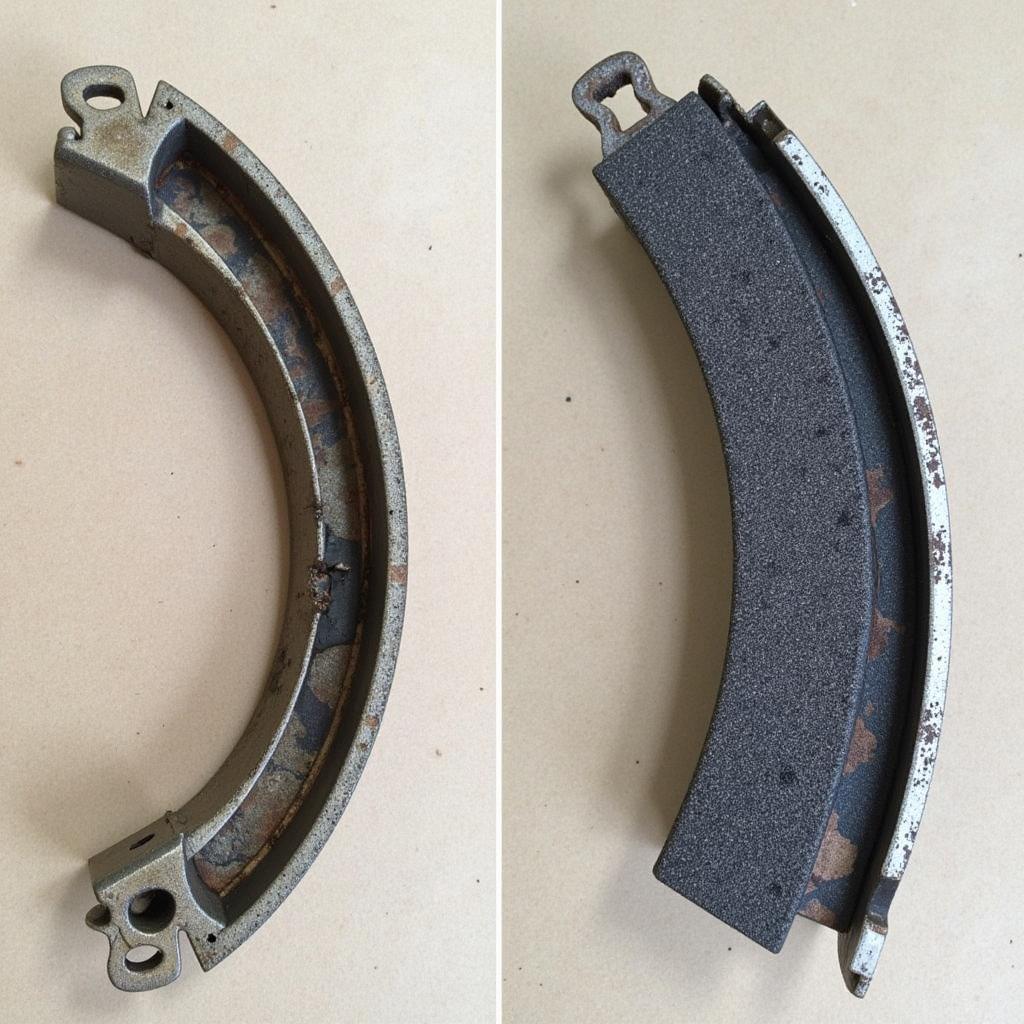 Worn Brake Shoe vs. New Brake Shoe
3. Uneven Braking
Symptoms: The trailer pulls to one side when braking.
Possible Causes:
- Uneven brake adjustment
- Contaminated brake linings
- Brake fluid leak (hydraulic brake systems)
Troubleshooting:
- Check brake adjustment: Ensure both brake assemblies are adjusted evenly. Uneven adjustment can cause one brake to engage more forcefully than the other.
- Inspect brake linings: Grease, oil, or other contaminants on the brake shoes can cause uneven friction. Clean the brake linings with brake cleaner or replace the shoes if heavily contaminated.
- Look for fluid leaks: If your system uses hydraulic brakes, check for any brake fluid leaks around the wheel cylinders or brake lines. Leaking fluid can reduce braking force on one side.
4. Intermittent Braking
Symptoms: The brakes work intermittently or inconsistently.
Possible Causes:
- Loose or corroded electrical connections
- Faulty brake magnet
- Damaged brake drum
Troubleshooting:
- Check electrical connections: Inspect all electrical connections within the brake assembly for looseness or corrosion. Clean or tighten connections as needed.
- Test the brake magnet: Apply power directly to the brake magnet and check if it’s engaging properly. A faulty magnet may need replacement.
- Inspect the brake drum: A warped or damaged brake drum can interfere with the brake shoes’ contact, leading to intermittent braking.
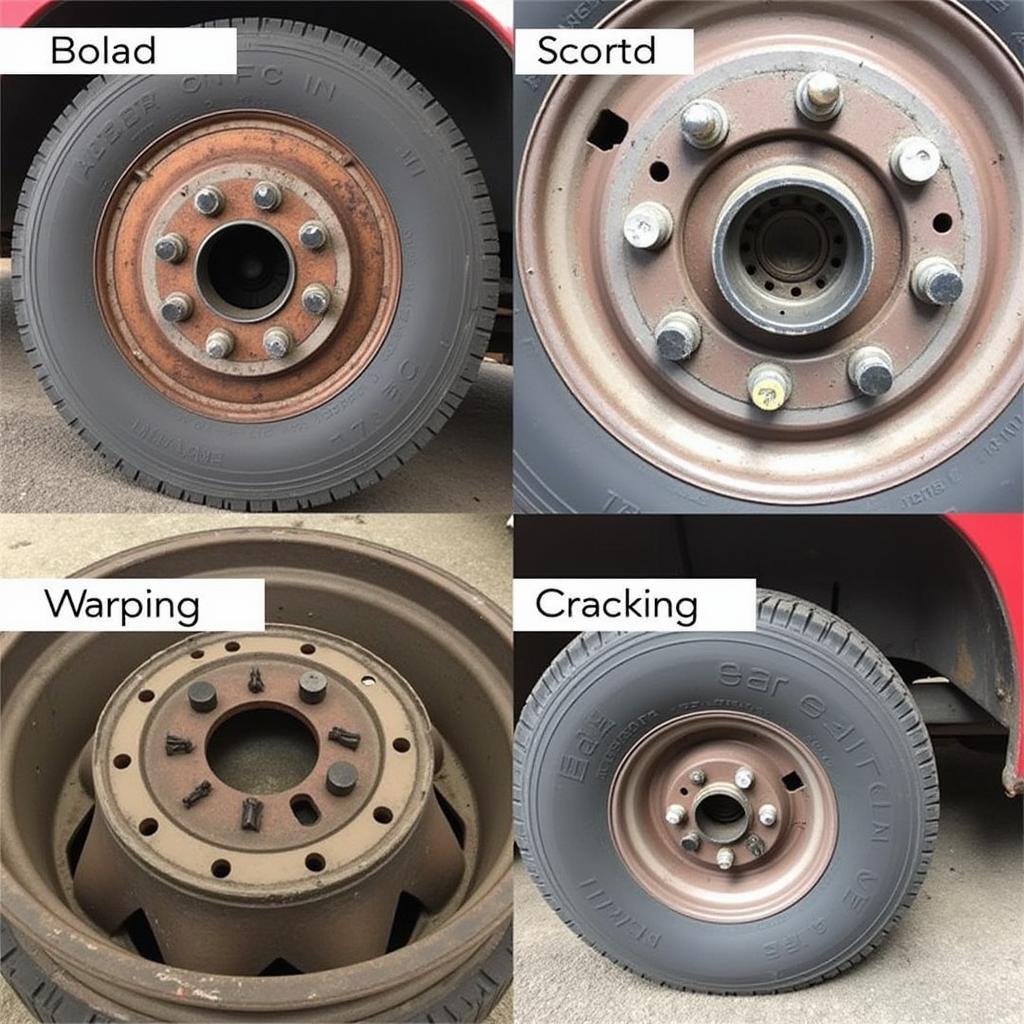 Inspecting a Trailer Brake Drum for Damage
Preventive Maintenance for Optimal Performance
Regular preventive maintenance is key to ensuring the longevity and optimal performance of your Warner Electric Brake ERD 35 C. Follow these tips:
- Regular Inspections: Inspect your brakes regularly, especially before long trips. Look for signs of wear and tear, such as worn brake shoes, damaged wiring, or leaking fluids.
- Lubrication: Keep all moving parts properly lubricated with high-temperature brake grease. This includes the wheel cylinder, brake shoe return springs, and any other sliding surfaces.
- Adjustment: Regularly check and adjust your brakes to ensure optimal performance and prevent uneven wear.
- Cleanliness: Keep the brake assembly clean and free of dirt, debris, and road grime. Use a brake cleaner to remove contaminants from the brake shoes and drum.
Expert Insights
“One common mistake I see is neglecting to check and adjust the brakes regularly,” says John Smith, a veteran automotive electrician specializing in trailer brake systems. “Properly adjusted brakes ensure even wear, improve braking performance, and can prevent costly repairs down the line.”
Conclusion
By understanding the common issues and following the troubleshooting tips outlined in this guide, you can address many problems with your Warner Electric Brake ERD 35 C. Remember, regular maintenance and timely repairs are crucial to ensuring the safety and reliability of your braking system. If you encounter a complex problem or are uncomfortable performing these tasks yourself, don’t hesitate to seek professional help from a qualified automotive electrician.