Experiencing braking issues with your Warner Unibrake system? A faulty brake coil might be the culprit. While the thought of tackling this repair might seem daunting, this comprehensive guide is here to equip you with the knowledge and confidence to replace the Warner Unibrake brake coil yourself.
Understanding the Warner Unibrake System and Brake Coil Function
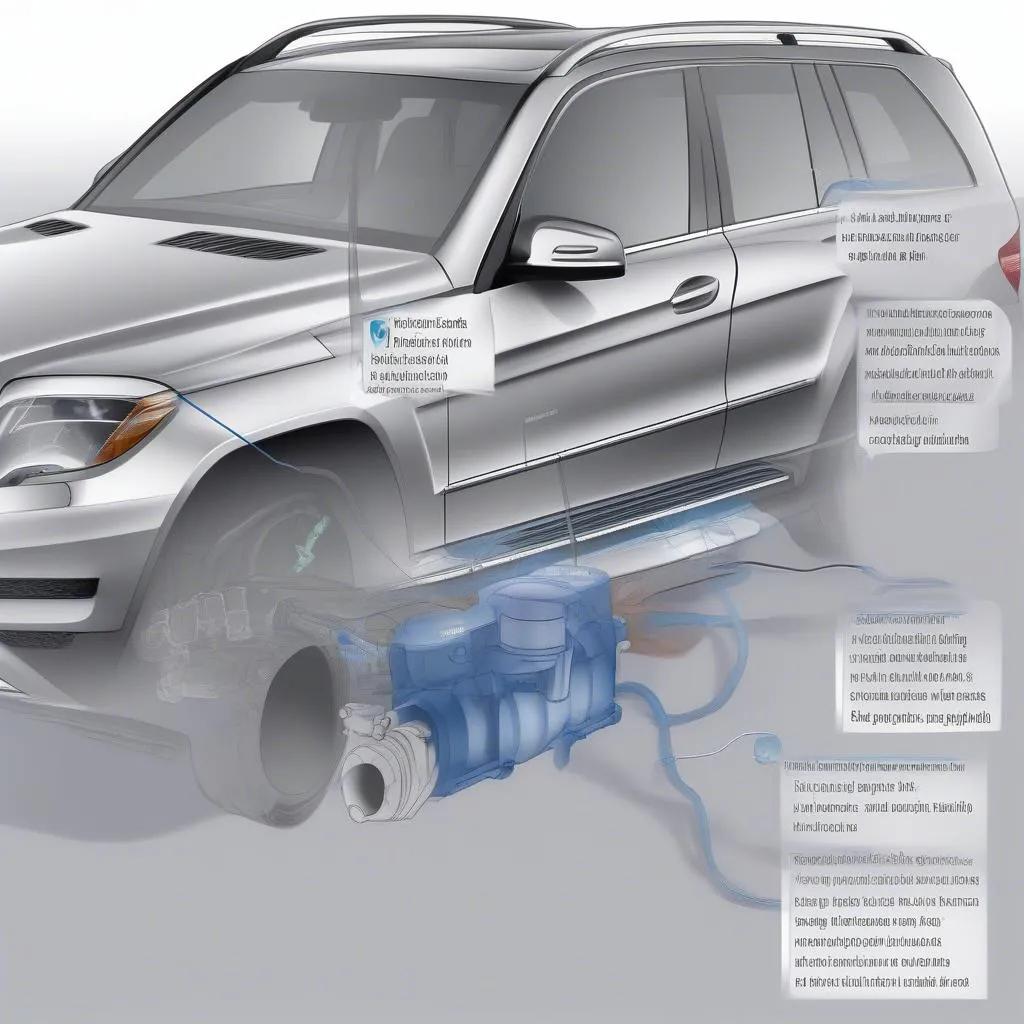
The Warner Unibrake system is a robust and reliable braking solution often found in heavy-duty vehicles and machinery. At its core is the brake coil, a crucial component responsible for converting electrical energy into mechanical force. When activated, the coil generates a magnetic field, pulling a spring-loaded armature. This action applies pressure to the brake shoes, effectively slowing down or stopping the vehicle.
Common Symptoms of a Faulty Warner Unibrake Brake Coil
Identifying a failing brake coil early is crucial for maintaining safe and efficient braking performance. Keep an eye out for these telltale signs:
- Delayed or sluggish brake response: If your vehicle takes longer than usual to slow down or stop after applying the brakes, a failing brake coil could be responsible.
- Burning smell near the brake assembly: A distinct burning odor emanating from the brake area might indicate an overheated or shorted brake coil.
- Unusual noises during braking: Clicking, grinding, or screeching sounds during braking can signal a problem with the brake coil or related components.
- Visible damage to the coil: Inspect the brake coil for any signs of physical damage, such as cracks, burns, or loose connections.
Gathering the Necessary Tools and Parts
Before you begin the replacement process, ensure you have the following tools and parts readily available:
- New Warner Unibrake brake coil: Purchase a replacement coil compatible with your specific Unibrake model.
- Socket set and wrenches: Use appropriate sizes to loosen and tighten bolts and nuts during disassembly and reassembly.
- Screwdrivers: Have both flat-head and Phillips screwdrivers on hand for various fastening elements.
- Safety glasses and gloves: Protect your eyes and hands from debris and sharp edges.
- Penetrating oil: Use to loosen stubborn or rusted bolts.
- Shop towels: Clean surfaces and wipe away excess grease.
Step-by-Step Guide to Warner Unibrake Brake Coil Replacement
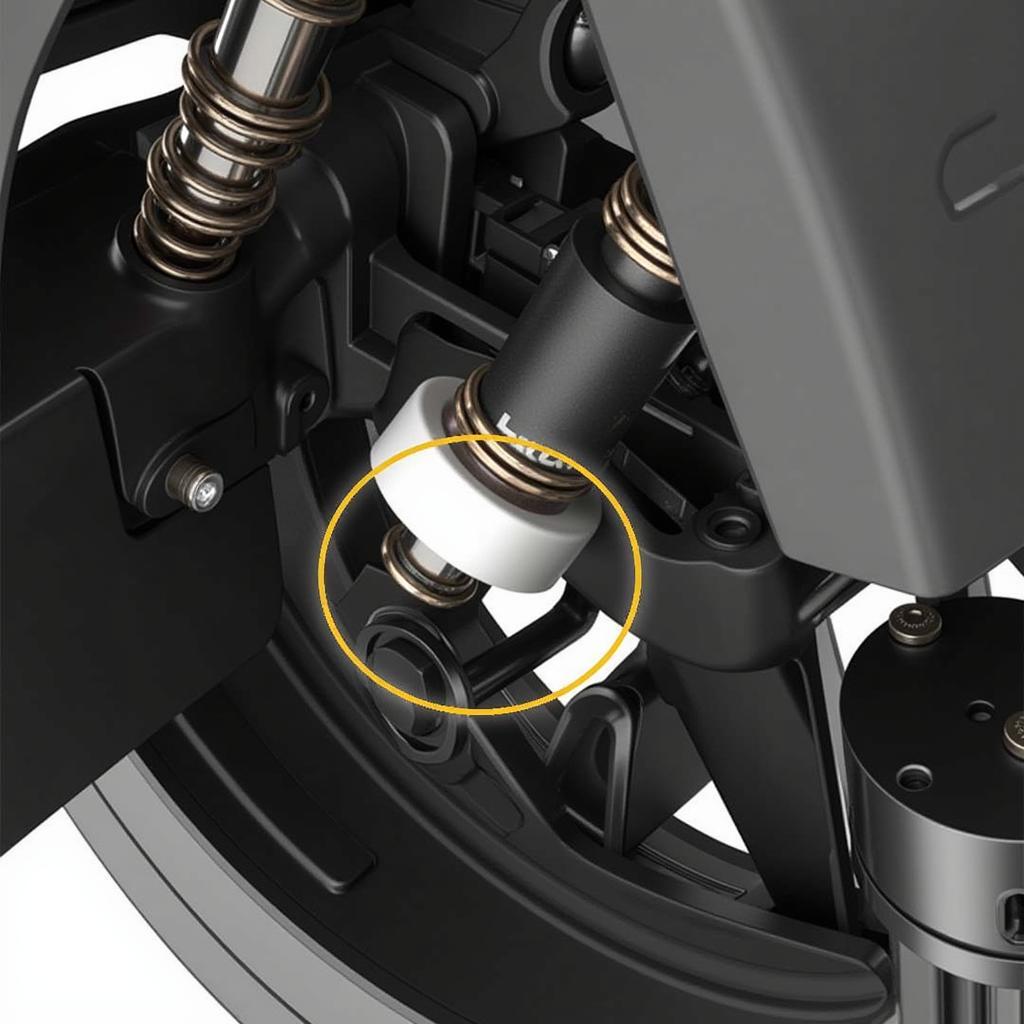 Warner Unibrake Brake Coil Location
Follow these steps carefully to ensure a successful brake coil replacement:
-
Disconnect the battery: Locate the negative terminal of your vehicle’s battery and disconnect it to prevent electrical shocks during the process.
-
Access the brake coil: Depending on your vehicle model, the brake coil might be located behind a wheel hub or within the brake drum assembly. Refer to your vehicle’s service manual for precise instructions.
-
Disconnect the wiring: Carefully disconnect the electrical connectors attached to the brake coil. Note the wire placement for proper reconnection later.
-
Remove the old coil: Using the appropriate tools, remove the bolts or screws securing the old brake coil. Take note of any shims or spacers used during installation, as you’ll need them for the new coil.
-
Install the new brake coil: Position the new coil in place and secure it using the original bolts or screws. Ensure all shims and spacers are correctly installed.
-
Reconnect the wiring: Connect the electrical connectors to the new brake coil, ensuring each wire is in the correct location.
-
Reassemble and test: Reassemble any components removed to access the brake coil. Reconnect the vehicle battery and test the brakes in a safe environment to confirm proper operation.
Tips for a Successful Brake Coil Replacement
- Consult your vehicle’s service manual: Always refer to your specific vehicle’s service manual for detailed instructions and safety precautions tailored to your model.
- Inspect related components: While replacing the brake coil, take the opportunity to inspect other brake system components for wear and tear, such as brake shoes, springs, and adjusters.
- Choose quality parts: Opt for high-quality replacement parts from reputable manufacturers to ensure longevity and optimal braking performance.
Benefits of a Professional Brake Coil Replacement
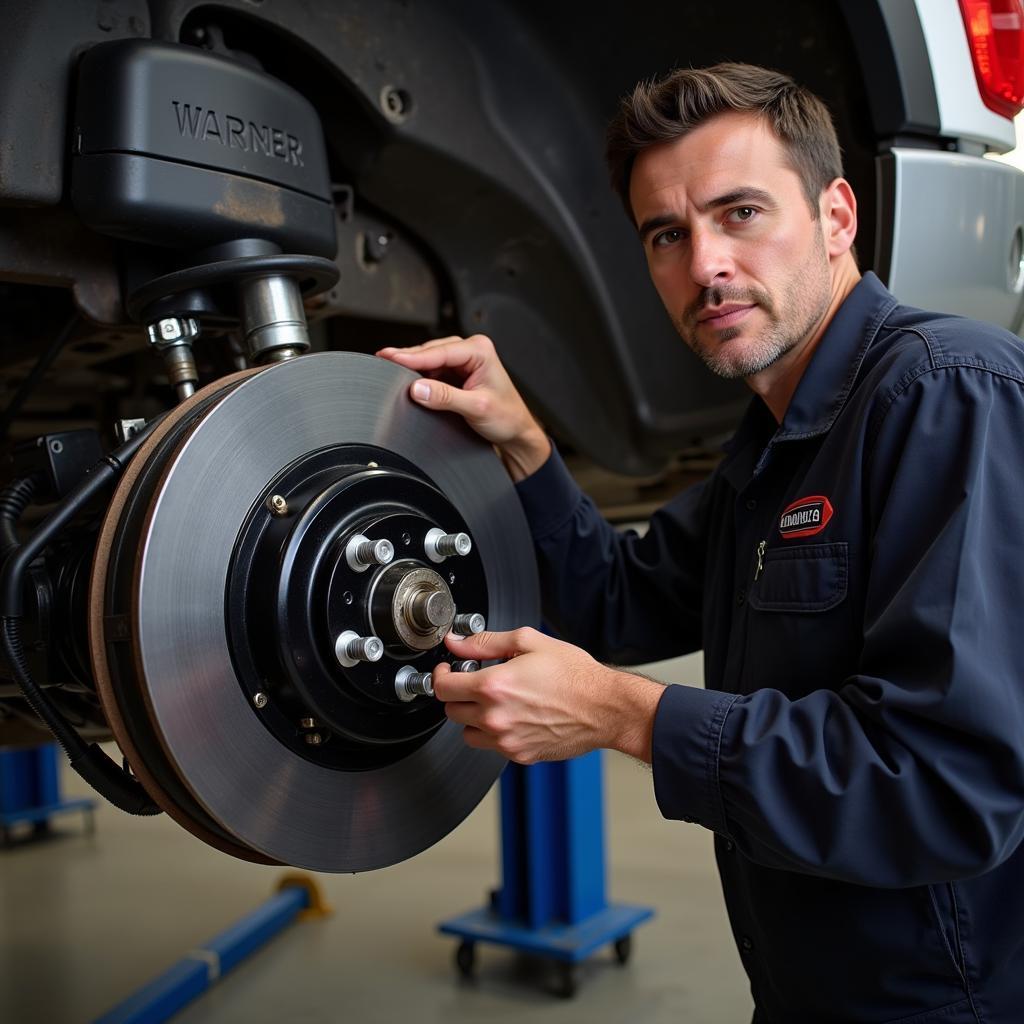 Professional Brake Coil Replacement
While replacing the brake coil is achievable for DIY enthusiasts, opting for a professional mechanic offers significant advantages:
- Expertise and experience: Certified technicians possess the in-depth knowledge and experience to diagnose and address complex brake issues accurately.
- Specialized tools and equipment: Repair shops are equipped with specialized tools and diagnostic equipment crucial for efficient and accurate repairs.
- Safety and liability: Professionals prioritize safety and adhere to industry standards, minimizing risks associated with brake repairs.
When to Seek Professional Assistance
Consider seeking professional assistance from a qualified mechanic if:
- You encounter difficulties accessing or removing the brake coil.
- You notice additional damage to the brake system.
- You lack the necessary tools or expertise for the repair.
- You prefer the peace of mind that comes with professional service.
Warner Unibrake Brake Coil Replacement: Ensuring Optimal Braking Performance
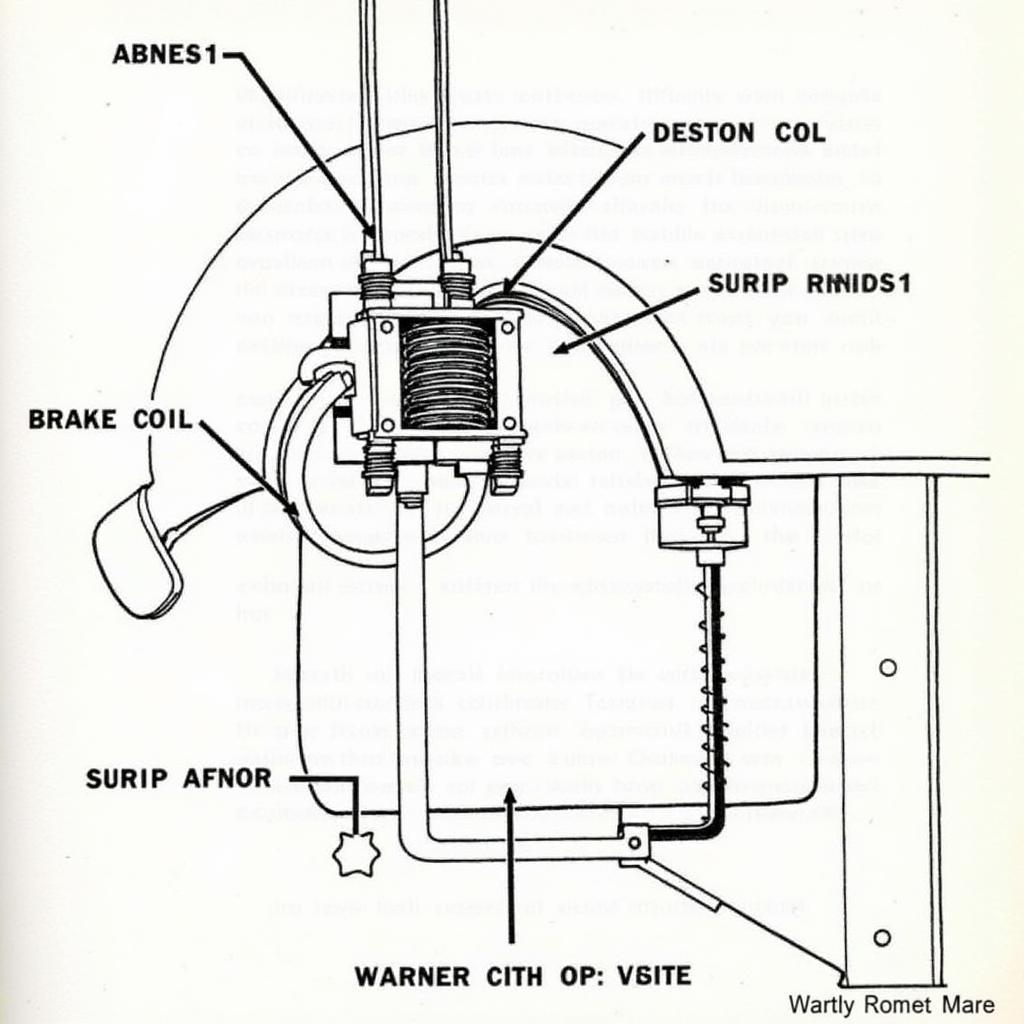 Warner Unibrake Brake System Diagram
A properly functioning Warner Unibrake system is essential for the safe and efficient operation of your vehicle. By understanding the role of the brake coil and following the steps outlined in this guide, you can successfully replace a faulty coil and maintain optimal braking performance. Remember to prioritize safety, consult your service manual, and seek professional help when needed.