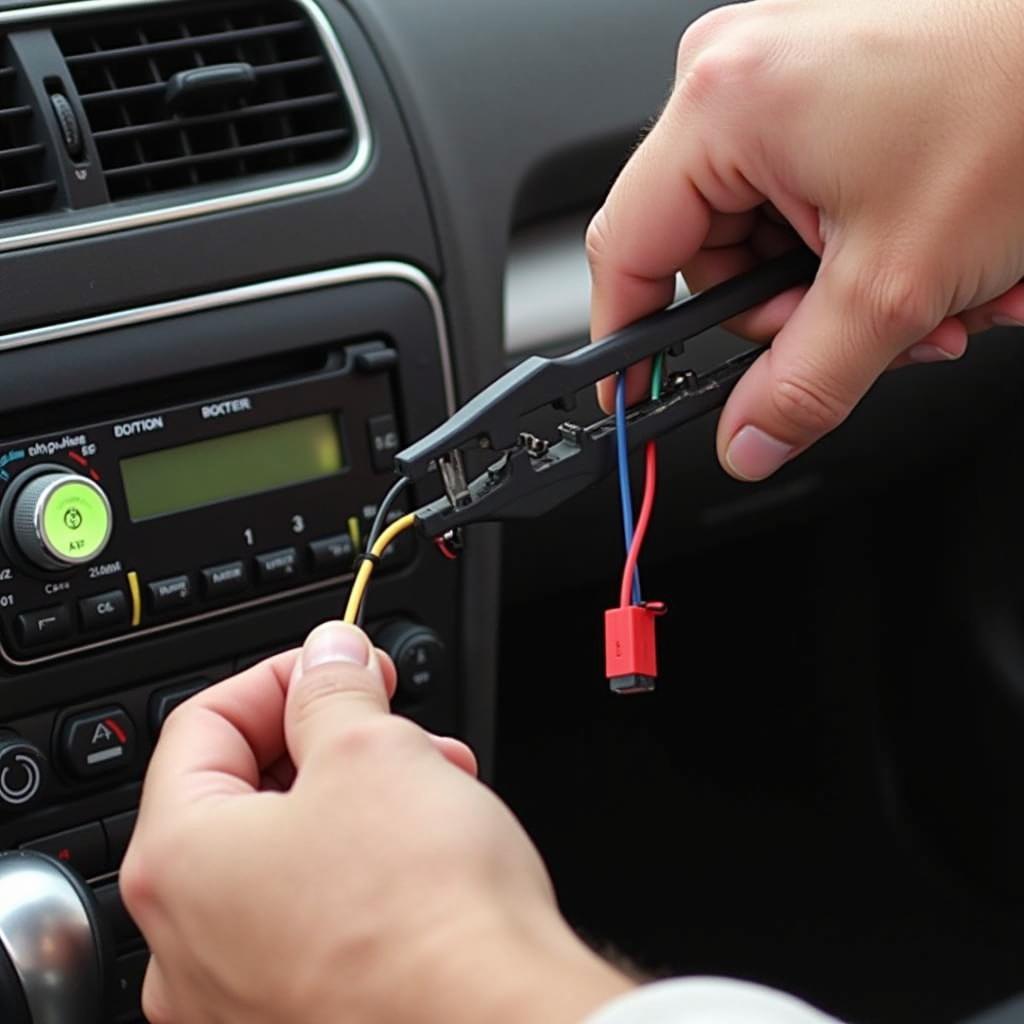
Wiring a car radio from scratch can seem daunting, but with the right knowledge and tools, it’s a manageable DIY project. This guide will provide a step-by-step approach, covering everything from understanding your car’s electrical system to making the final connections.
Understanding Your Car’s Electrical System
Before you start wiring a car radio from scratch, it’s crucial to understand the basics of your car’s electrical system. Car radios operate on a 12-volt DC system. The key components are the battery, the ignition switch, and the fuse box. Identifying these is the first step. The battery provides the power, the ignition switch controls when the radio turns on, and the fuse box protects the circuit from overloads. Remember, disconnecting the battery’s negative terminal is essential before working on any electrical components. This prevents accidental shorts and potential damage to the radio or the car’s electrical system.
Have you ever had a dead battery charger? It can be a real headache! Knowing how to jumpstart your car or use a portable charger can save you in such situations.
Gathering Your Tools and Materials
You’ll need a few essential tools to wire a car radio: a wire stripper, crimping tool, electrical tape, zip ties, and a multimeter. Having a car wiring diagram specific to your vehicle’s make and model is also crucial. This diagram will help you identify the correct wires for power, ground, and speakers. Using the wrong wires can lead to malfunction or even damage to the radio or the car’s electrical system.
Step-by-Step Wiring Instructions
-
Disconnect the battery: As mentioned earlier, always disconnect the negative terminal of the battery first to prevent electrical hazards.
-
Identify the wires: Use your wiring diagram to locate the power, ground, speaker, and antenna wires in your car’s wiring harness.
-
Prepare the wires: Strip the insulation from the ends of the wires, exposing about 1/4 inch of bare wire.
-
Connect the power wire: The power wire, usually red, should be connected to the constant 12V source in your car. This ensures the radio retains its settings even when the ignition is off.
-
Connect the ground wire: The ground wire, typically black, should be securely connected to a metal part of the car’s chassis. This provides a return path for the electrical current.
-
Connect the speaker wires: Carefully match the polarity of the speaker wires (positive and negative) to the corresponding terminals on the radio. Getting the polarity right is crucial for optimal sound quality.
-
Connect the antenna wire: Connect the antenna wire to the antenna jack on the radio. A good antenna connection is essential for clear radio reception.
-
Test the connections: Before fully assembling everything, reconnect the battery and test the radio to ensure it powers on and functions correctly.
-
Secure the wiring: Use zip ties to neatly organize and secure the wiring, preventing it from dangling or interfering with other components.
What If My Car Overheats After Replacing the Battery?
Sometimes, seemingly unrelated issues can crop up after working on your car’s electrical system. If your car is overheating after replacing the battery, it could be a coincidence or a sign of a different problem. It’s important to diagnose the overheating issue separately.
 Connecting Car Radio Wires
Troubleshooting Common Problems
Sometimes, things don’t go as planned. If your radio doesn’t work after wiring, double-check all the connections. Make sure the fuse for the radio circuit is not blown. A multimeter can be invaluable for testing continuity and voltage. If you’re wiring a car radio into a caravan, the process is similar but you may need to provide a separate power source and consider different antenna options.
“A common mistake is incorrectly identifying the ignition wire,” says automotive electrical expert, David Miller. “This can lead to the radio not turning on or staying on even after the car is off.”
Conclusion
Wiring a car radio from scratch is achievable with patience and attention to detail. By following these steps and referring to your car’s wiring diagram, you can successfully install your new radio and enjoy your favorite tunes on the road. Remember, understanding your car’s electrical system is crucial for any DIY project involving wiring. Wiring a car radio from scratch not only saves money but also provides a sense of accomplishment. Don’t hesitate to consult a professional if you encounter any difficulties.
“Always double-check your connections before powering on the radio,” advises Sarah Johnson, an experienced car audio technician. “This simple step can save you from potential headaches down the road.”
Thinking about getting a new battery for your 2009 Chrysler Aspen Hybrid? Be sure to research common 2009 Chrysler Aspen hybrid battery problems before making your purchase. If you have a golf cart that won’t charge, you can find helpful resources on troubleshooting club car golf cart wont charge issues.

