Wiring a radio in a car can seem daunting, but with the right knowledge and preparation, it’s a manageable task. This guide provides a step-by-step approach, covering everything from understanding your car’s wiring to troubleshooting common issues. We’ll equip you with the expertise to confidently install your new car stereo.
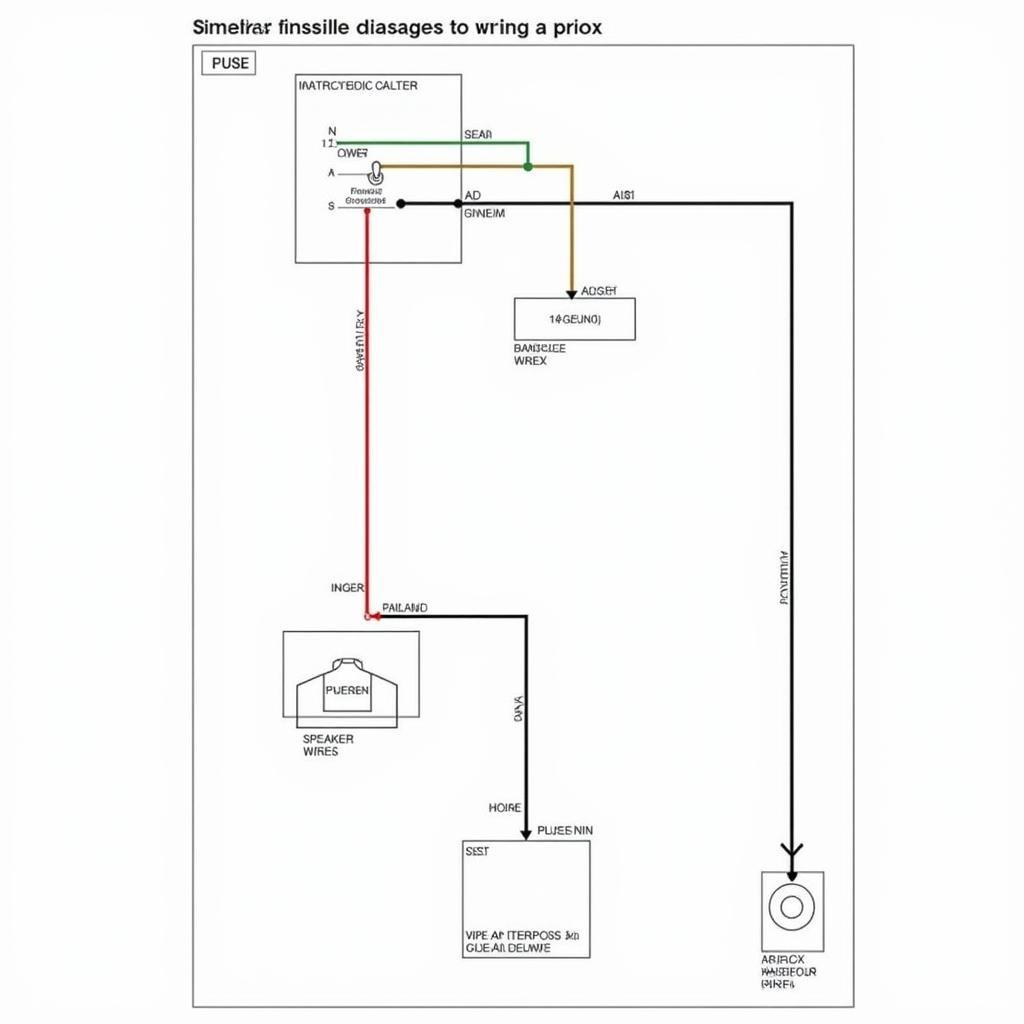
 Car Radio Wiring Diagram with Color Codes and Labels
Understanding your car’s wiring is the first crucial step. Each wire serves a specific purpose, and connecting them incorrectly can lead to malfunctions or even damage.
Decoding Your Car’s Wiring System
Before you begin wiring a radio in a car, familiarize yourself with the color codes. This will prevent mishaps and ensure a smooth installation process. A wiring diagram specific to your car model is invaluable.
Identifying Key Wires
- Power (Constant 12V): This wire provides continuous power to the radio, even when the ignition is off. It’s usually yellow.
- Accessory (Switched 12V): This wire powers the radio only when the ignition is on, typically red.
- Ground: The black wire, essential for completing the electrical circuit.
- Speaker Wires: These come in pairs (positive and negative) for each speaker, often color-coded.
- Antenna: This wire connects to your car’s antenna, usually blue.
“A common mistake is confusing the constant and switched power wires,” says automotive electrical expert, David Miller. “This can drain your car battery.”
Step-by-Step Installation Guide
- Disconnect the Battery: This is paramount for safety.
- Remove the Old Radio: Consult your car’s manual for specific instructions.
- Identify the Wires: Use a wiring diagram or multimeter.
- Connect the Wires: Match the wires from your new radio to the car’s wiring harness using crimp connectors or soldering, ensuring a secure connection.
- Test the Radio: Briefly connect the battery to ensure everything works.
- Secure the Radio: Mount the new radio in the dashboard.
- Reconnect the Battery: Finalize the installation.
Troubleshooting Common Issues
- No Power: Double-check the power and ground connections. A blown fuse is another possibility.
- No Sound: Verify speaker wire connections and ensure the correct polarity.
- Poor Reception: Check the antenna connection.
2006 dodge charger car radio stereo audio wiring diagram
“Always refer to a wiring diagram specific to your car model,” advises Sarah Johnson, a certified car audio technician. “This minimizes the risk of errors and ensures a successful installation.”
cared radio rear view camera wiring
Utilizing Wiring Harnesses
Wiring harnesses simplify the process, eliminating the need to cut and splice wires. They provide a plug-and-play solution for connecting your new radio. Always choose a harness compatible with your car and radio model.
2005 hyundai accent car radio stereo wiring diagram
wireing diagram car radio 1999 trans am
Conclusion
Wiring a radio in a car is achievable with careful planning and execution. By following this guide and taking necessary precautions, you can upgrade your car’s audio system and enjoy your favorite tunes on the road. Remember to double-check your connections and consult a professional if needed.
panasonic car radio wiring schematic
Remember, patience and attention to detail are key to a successful installation. Don’t hesitate to seek professional help if you encounter any difficulties. Enjoy your upgraded car audio system!


