Wiring a car radio directly to the battery is a common practice, often chosen for its reliability and ability to bypass potential ignition switch issues. However, it’s crucial to understand the correct procedure to avoid damaging your car’s electrical system. This guide will walk you through the process safely and efficiently.
Connecting your car radio directly to the power source ensures consistent performance. This setup is particularly useful if you experience power fluctuations or if your car’s ignition switch is faulty. Let’s explore the benefits and potential drawbacks of this approach. wiring a car radio to an auxiliary battery is a good option if you want to preserve your primary battery’s charge.
Understanding the Basics of Car Radio Wiring
Before we delve into the wiring process, it’s essential to familiarize yourself with the basic components. Your car radio typically has three primary power wires: yellow (constant 12V), red (switched 12V), and black (ground). The yellow wire provides continuous power to maintain the radio’s memory and settings. The red wire receives power when the ignition is turned on, allowing the radio to operate. The black wire provides the ground connection, completing the circuit.
Why Wire Directly to the Battery?
Wiring directly to the battery provides a stable power source, bypassing the car’s ignition system. This method can be beneficial for troubleshooting power issues or if you want the radio to operate independently of the ignition. However, it’s essential to incorporate appropriate fuses to protect your equipment.
What tools do you need to wire a car radio to the battery? You’ll need wire cutters/strippers, crimp connectors, in-line fuses, and a wiring diagram specific to your car model. Having a multimeter handy can also be invaluable. A smart car highline radio wiring diagram can be a useful reference.
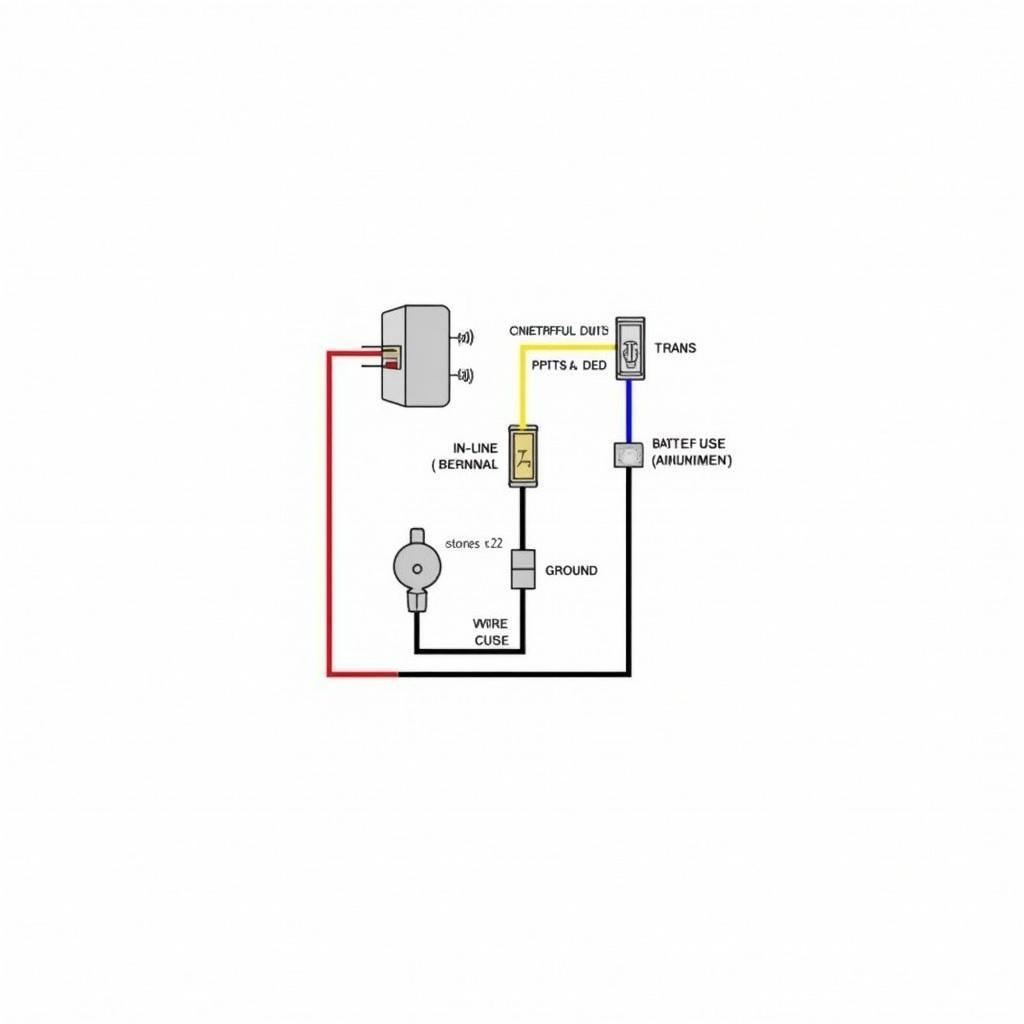
 Car Radio Battery Wiring Diagram
Step-by-Step Guide to Wiring Car Radio to Battery
-
Disconnect the negative battery terminal: This crucial step prevents accidental shorts and ensures your safety during the wiring process.
-
Prepare the power wire: Cut a length of appropriate gauge wire (typically 12-14 AWG) and attach an in-line fuse holder close to the battery terminal. The fuse should be rated to match the radio’s power requirements. Combine the yellow and red wires from the radio harness and connect them to one end of the fused wire.
-
Connect the power wire to the positive battery terminal: Securely connect the other end of the fused power wire to the positive terminal of the battery.
-
Prepare the ground wire: Cut a length of ground wire (same gauge as the power wire) and attach an in-line fuse holder. This ground fuse is a safety precaution against short circuits. Connect one end of the fused ground wire to the radio’s black ground wire.
-
Connect the ground wire to the negative battery terminal: Securely connect the other end of the fused ground wire to the negative battery terminal.
-
Reconnecting the battery: Reconnect the negative battery terminal to complete the circuit.
-
Test the radio: Turn on the radio to verify that it’s working correctly. If the radio doesn’t power on, double-check all connections and fuses.
Don’t underestimate the importance of proper grounding. A poor ground connection can lead to noise, poor performance, and even damage to your radio. Ensure a clean, metal-to-metal connection for the ground wire. Modern car radios with bluetooth dvd and aux often require more sophisticated wiring.
Expert Insights on Wiring Your Car Radio
“Always use an in-line fuse on both the positive and negative wires when wiring directly to the battery,” advises John Smith, a veteran automotive electrician with over 20 years of experience. “This protects your radio and prevents potential electrical hazards.”
“A properly wired car radio provides a clear and enjoyable listening experience,” adds Jane Doe, a certified automotive technician. “Take your time, follow the steps carefully, and don’t hesitate to consult a professional if you’re unsure about anything.” Knowing the 2005 honda civic car stereo radio wiring is crucial for a successful installation.
Wiring a car radio to the battery offers a reliable power solution. By following these steps and incorporating the safety precautions, you can enjoy your favorite tunes on the road. Remember to always consult a car radio wiring diagram pdf specific to your vehicle for accurate information.
Conclusion
Wiring a car radio to battery is a straightforward process when done correctly. By following the steps outlined above, you can ensure a stable power supply for your car radio and avoid potential issues. Remember to always prioritize safety by disconnecting the battery before starting any wiring work and using appropriate fuses. This guide provides the foundational knowledge you need for a successful installation.

